
How to Recover from a Tibial Plateau Fracture
If you have any queries or suggestions, please feel free to reach out via email to info@harisonfitness.com. We will do everything in our capacity to ensure that you love your experience with us.
The tibial plateau refers primarily to a bone in the knee; it works in conjunction with other bones to enable us to walk and move normally. However, although it is a bone, it is quite fragile and is very prone to fractures in the event of an accident. So, what exactly are the causes of these fractures?
01 Causes of Tibial Plateau Fractures
1. Direct Trauma
If the knee is struck forcefully with an object—whether on the inner or outer side—it can very easily result in a fracture of the medial or lateral tibial plateau, impairing the ability to walk.
2. Indirect Trauma
When falling from a height, if the knee or foot hits the ground first and the body then falls to one side, a force acting from the bottom upward is exerted. Combined with the person’s own body weight and the acceleration during the fall, these forces can damage the tibial plateau, leading to its collapse. In addition to falls, collisions in car accidents can also cause tibial plateau fractures.
3. Falls
For the elderly, due to osteoporosis and limited mobility, a fall can easily result in damage to the tibial plateau. Younger people, however, have stronger bones and quicker reflexes, so even if they fall, the likelihood of this outcome is relatively low.
02 How to Recover Quickly
Exercise 1: Quadriceps Contraction
Key Points: For this exercise, lie on your back or sit on the bed with your upper body upright and your arms behind you to support your body. Tighten the muscles on the front of the affected thigh, pointing your toes upward, then relax. Repeat this exercise, performing two sets of eight repetitions each.
Exercise 2: Heel Glide
Instructions: Lie on your back with your upper body still and arms at your sides. Keep the healthy leg relaxed and still. With the heel of the affected leg flat on the bed, slide it backward, then return to the starting position. Maintain even breathing throughout the exercise. Repeat this exercise, performing 2 sets of 8 repetitions each.
Exercise 3: Ankle Pump
Key Points: Perform this exercise in a seated position with your upper body straight and still, and your arms supporting you behind your back. Keep both legs straight. Using the ankle joint as the pivot point, move the foot of the affected leg back and forth. When curling your toes inward, you should clearly feel the ligaments in your calf stretching and tightening. Maintain even breathing throughout the exercise. Repeat this exercise, performing two sets of 8 repetitions each.
Exercise 4: Patellar Mobilization
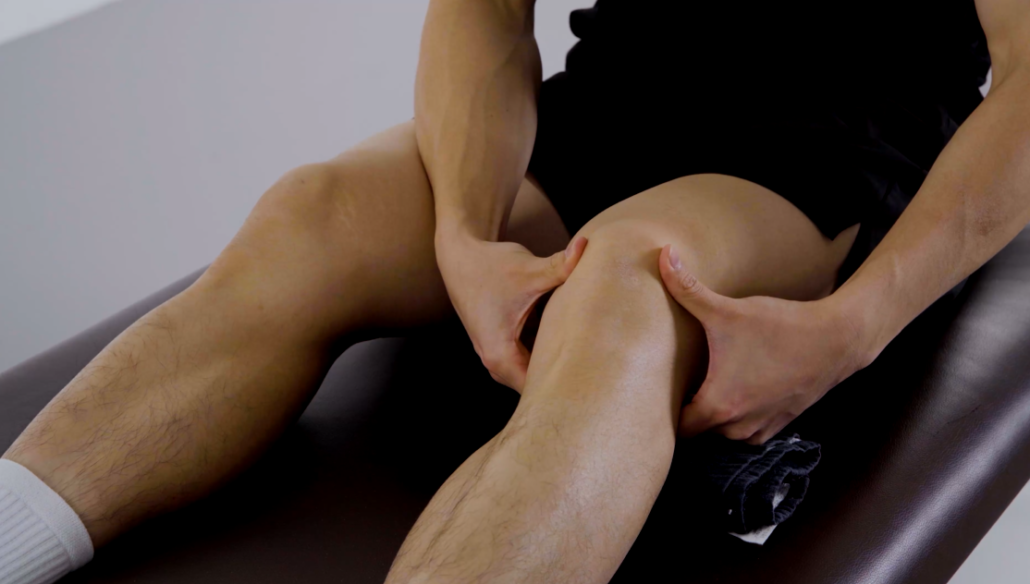
Instructions: Perform this exercise while seated. Keep your upper body upright with knees bent. Extend both legs straight forward, keeping them naturally apart. Place a pillow or cushion under the knee of the affected leg to keep the knee slightly bent. Then, place both hands on either side of the kneecap and gently rock it from side to side. Repeat this exercise 30 times.
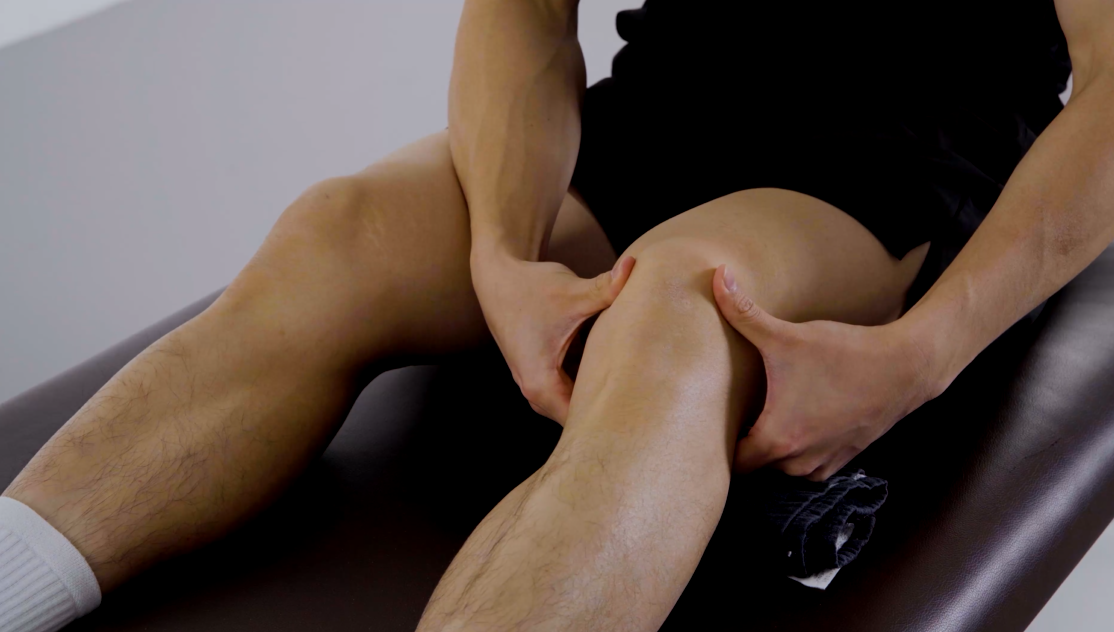
The four exercises above should be performed 40 minutes after a meal, 2 to 3 times daily. Consistent practice will help improve lower limb range of motion and prevent postoperative adhesions.


Leave a Reply
Want to join the discussion?Feel free to contribute!