How to Deal with Excessively Stiff Ankles? Learn How to Properly Improve Ankle Mobility
If you have any queries or suggestions, please feel free to reach out via email to info@harisonfitness.com. We will do everything in our capacity to ensure that you love your experience with us.
In daily life, most of us pay attention, to varying degrees, to the health of our shoulders, neck, knees, abdomen, legs, and so on, yet we rarely give much thought to an important part that affects our walking and movement—the ankle joint.
01 Do You Really Understand the Ankle Joint?
The ankle joint, also known as the talocrural joint, is located at the junction between the leg and the foot. It is formed by the medial malleolus (inner ankle) made of the tibia, the lateral malleolus (outer ankle) made of the fibula, and the trochlear surface of the talus. As one of the body’s major weight‑bearing joints, its primary functions are to provide stable support under load and allow flexible movement.
If your ankle has poor mobility — especially in dorsiflexion, which is the movement of the foot toward the shin — your movement patterns may become faulty, increasing the risk of injury during physical activity.
02 Is Your Ankle Mobility Up to Standard?
How can you tell if your ankle mobility is poor? Try these simple tests:
-
Bodyweight squat (air squat) – Perform a squat and see whether your heels frequently lift off the ground during the movement.
-
Stand with feet together – Stand upright with your feet side by side and check if you can lift the balls of your feet off the ground without shifting your body.
-
Half-kneeling dorsiflexion test – Take off your shoes. Kneel on one knee with the other foot positioned about 5 inches (≈12–13 cm) away from a wall. Lean your torso forward and try to touch the wall with your front knee, keeping your heel in contact with the floor. If you can touch the wall, your ankle mobility can be considered adequate.
03 What to Do in Case of an Ankle Injury – Emergency First Aid
Ankle injuries are among the most common sports-related injuries. Most occur in activities that involve running, jumping, or rapid changes of direction. When the ankle is stiff and subjected to excessive or improper movement, the ligaments that help stabilize the joint can tear, resulting in an ankle injury.
If this happens, the following first-aid measures are recommended:
-
Rest – Stop walking and remain still. Avoid moving the ankle unnecessarily to prevent secondary injury.
-
Ice – Apply an ice pack to the injured area for 10–20 minutes, then rest for 10 minutes. Repeat this cycle for up to 2 hours.
-
Compression – Use an elastic bandage or stretchy clothing to wrap the ankle with moderate pressure to reduce swelling. Be careful not to apply too much pressure, as this can worsen swelling and restrict blood flow.
-
Elevation – Place something soft and supportive under the injured foot to raise it higher than the heart. This helps promote blood circulation in the foot and leg, reduces swelling, and aids recovery.
-
Medical care – Take oral medication that promotes blood circulation and resolves bruising, or use topical ointments or sprays. After on-site first aid, seek prompt medical attention at a hospital. X-rays should be taken to rule out ankle fracture, and an MRI may be necessary if needed.
04 How to Improve Ankle Mobility
No matter how good or poor your ankle mobility is, maintaining ankle function is very important for reducing your risk of injury during exercise.
If your ankle mobility is already good, performing one set of ankle exercises per week is enough to maintain it. However, if your ankle mobility does not meet the standard, you should do ankle exercises twice a week.
01 Foam Roller / Massage Ball Release for Calves
Movement Essentials:Place your calf on a foam roller (or massage ball). Roll slowly along the entire length of the calf and Achilles tendon for 1 minute. If you find a tender spot (trigger point), pause and focus on that area for 10–20 seconds. You can add active movements while rolling, such as actively dorsiflexing the foot or making ankle circles.
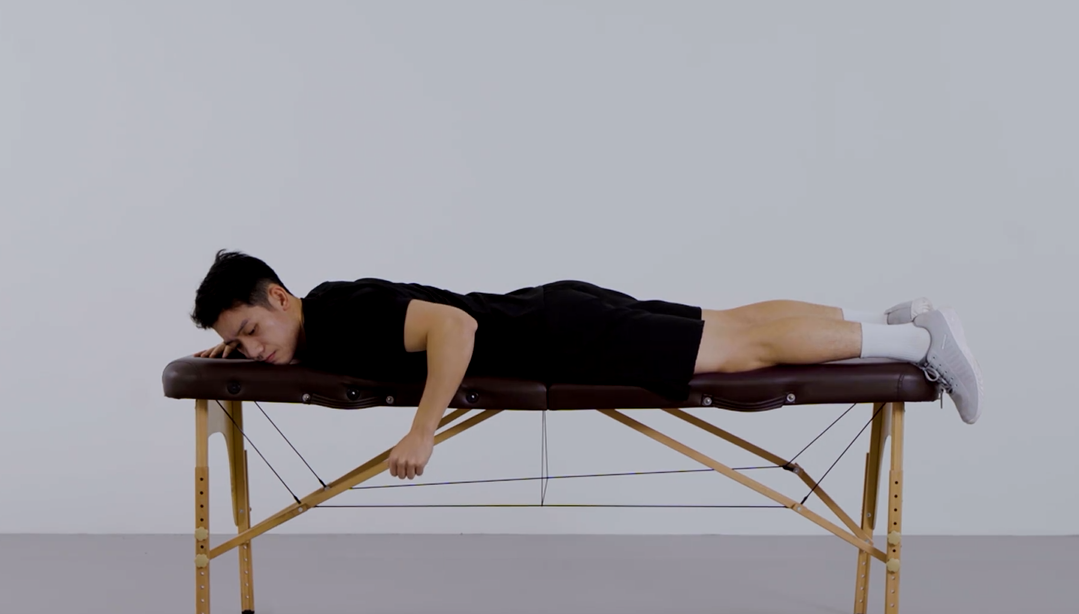
02 Resistance Band Dorsiflexion Stretch
Movement Essentials:Anchor one end of the resistance band to a fixed object and loop the other end around the top of your foot. Rest your calf on a basketball (or similar support) and lift the top of your foot backward against the band’s resistance.
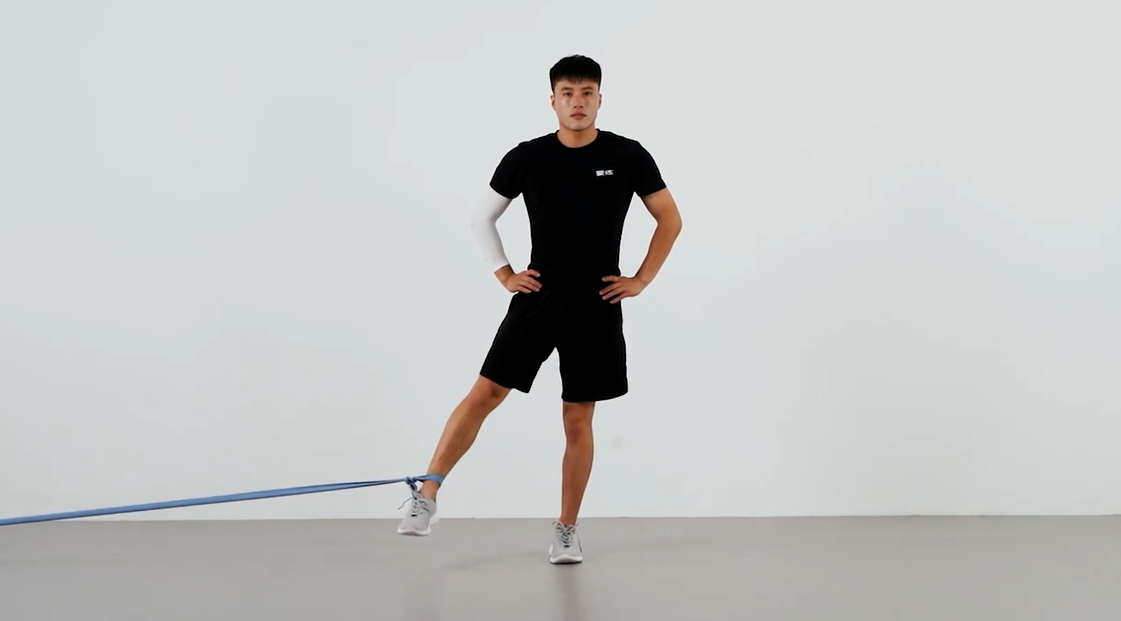
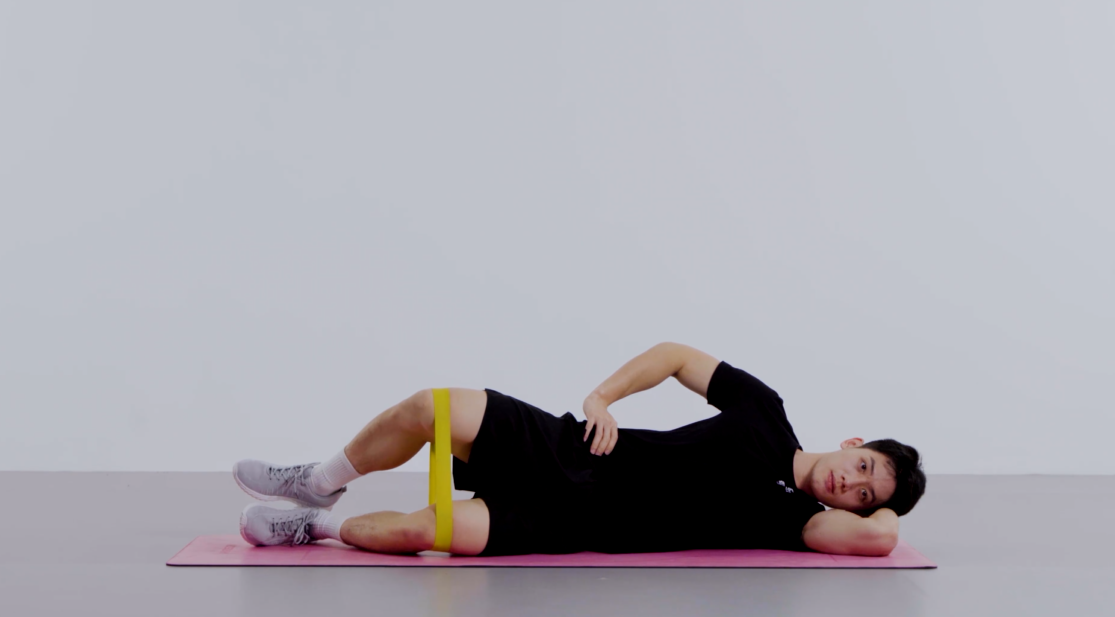
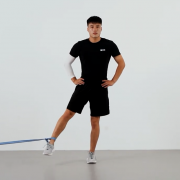
03 Resistance Band Double-Leg Eversion
Movement Essentials:Loop the resistance band around the outside of both feet. Keep your heels on the ground and lift your toes, then evert (turn outward) your feet against the band’s resistance to improve ankle mobility.
These methods are simple and easy to follow, right? Get started now!