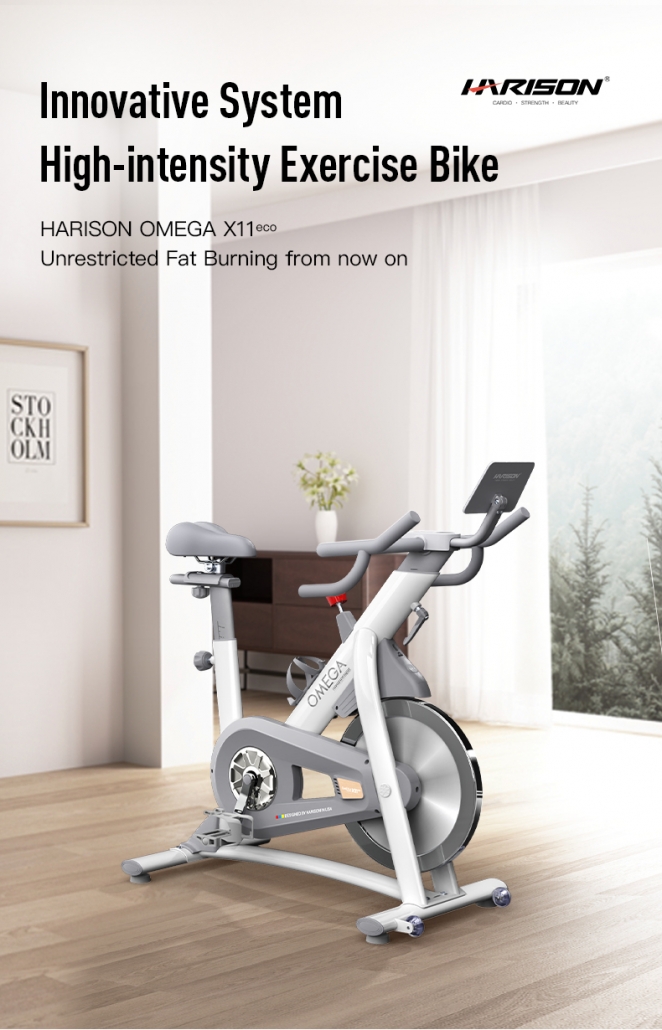
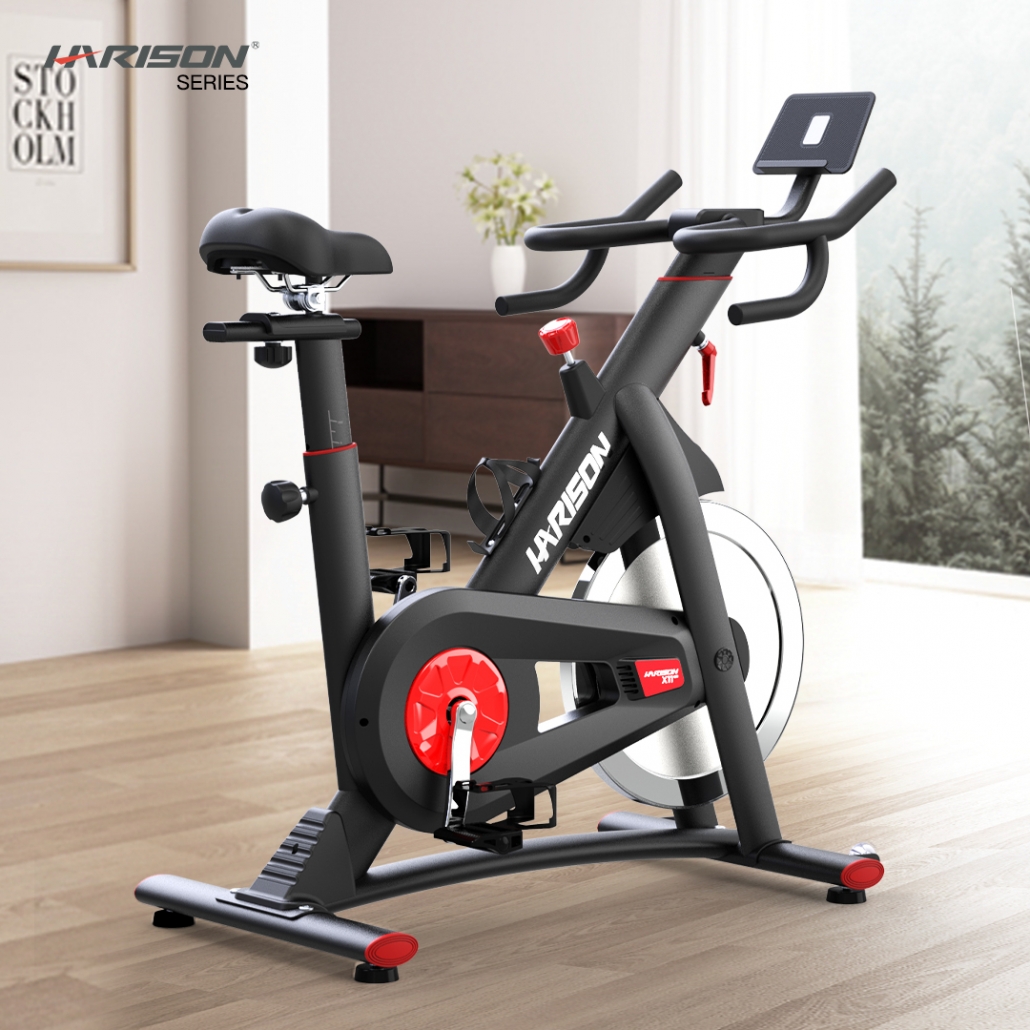
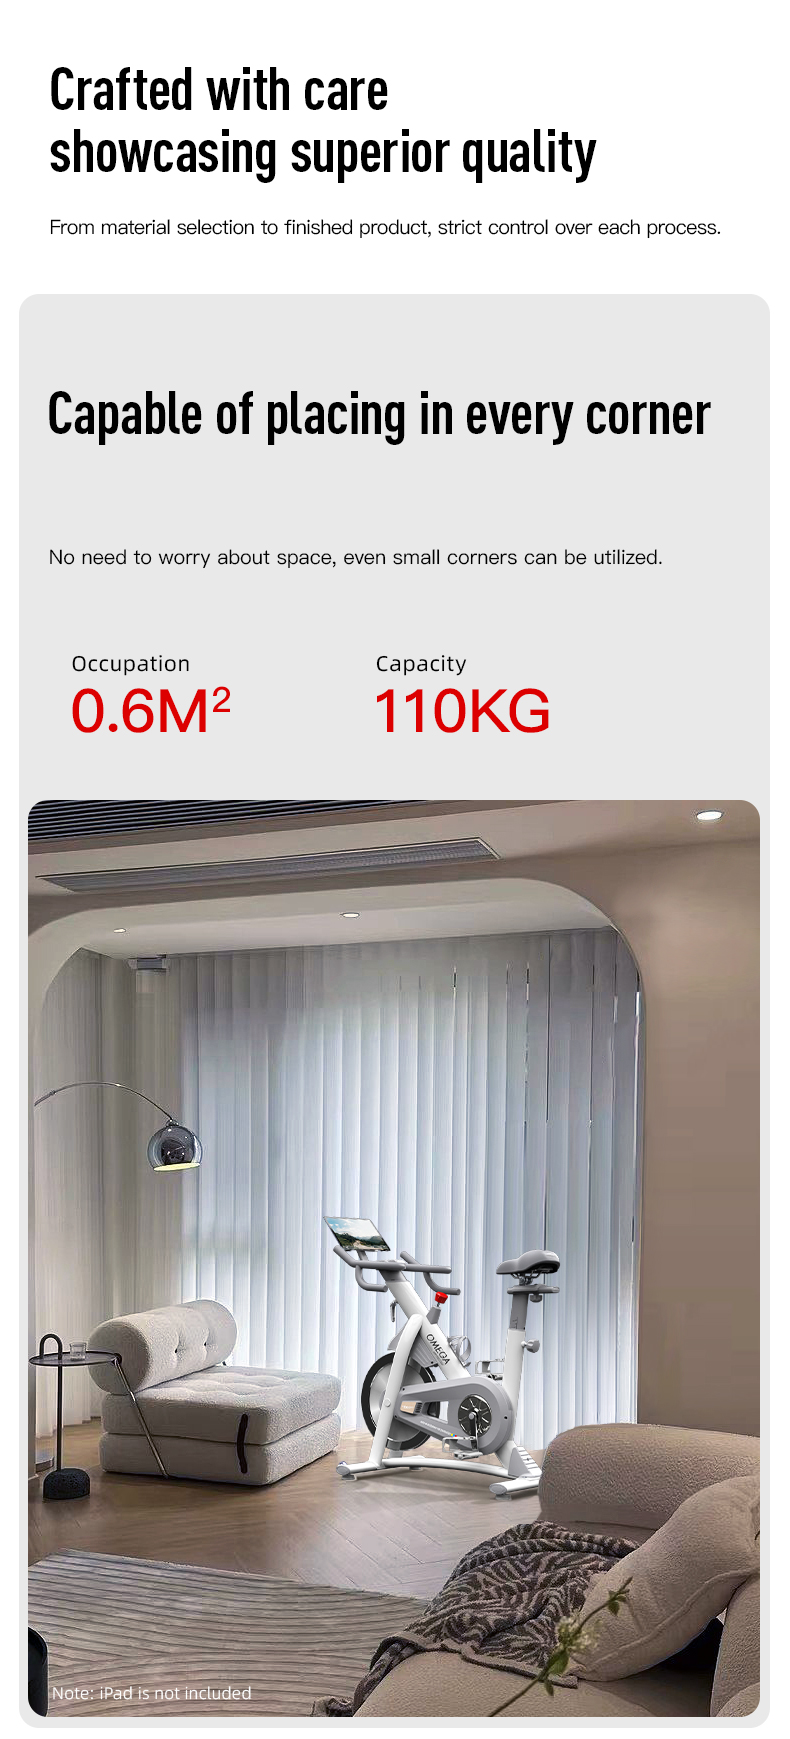
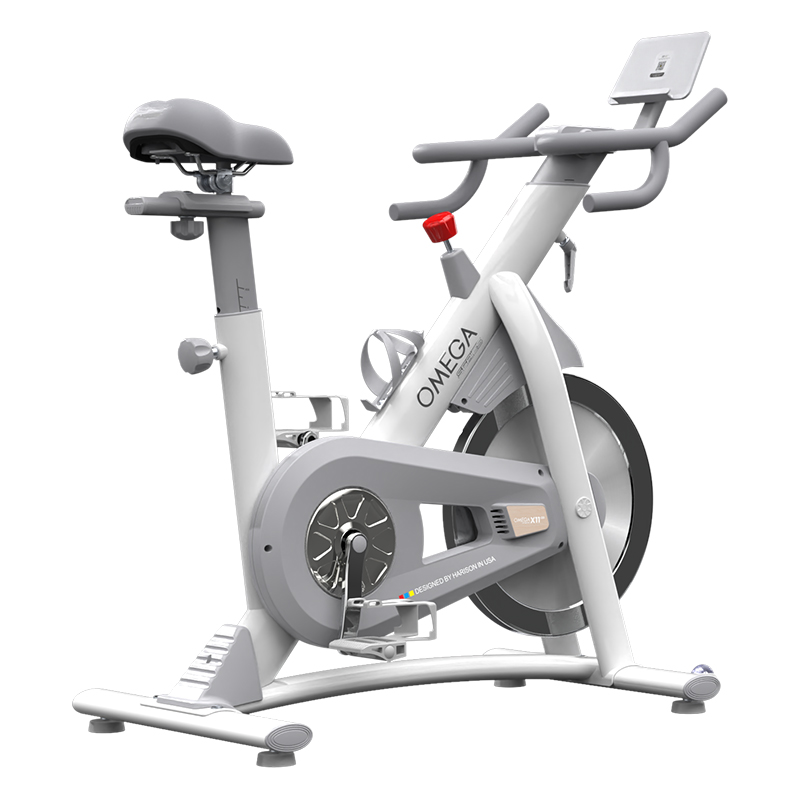
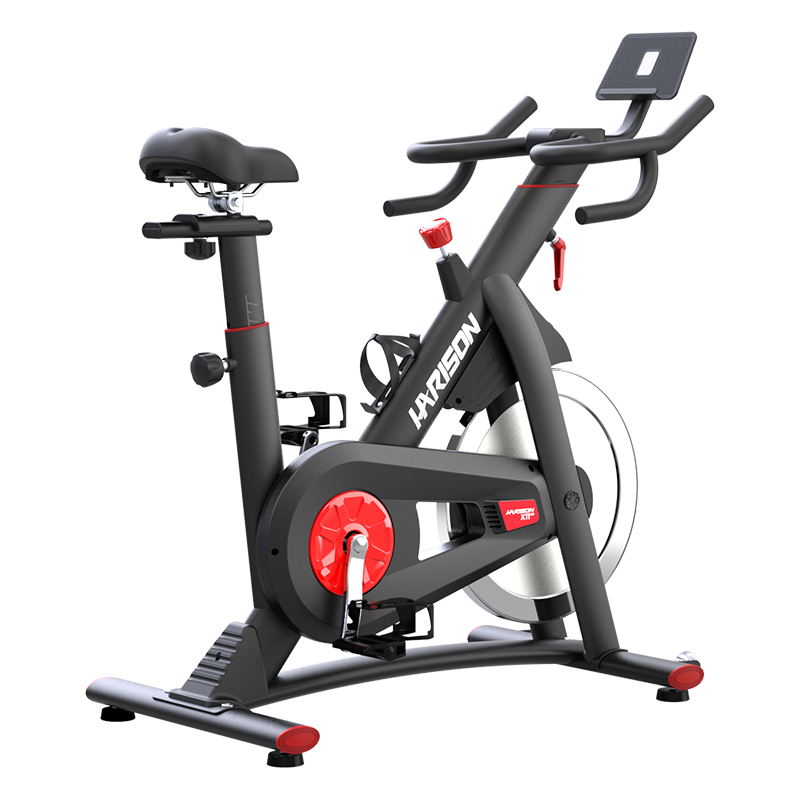
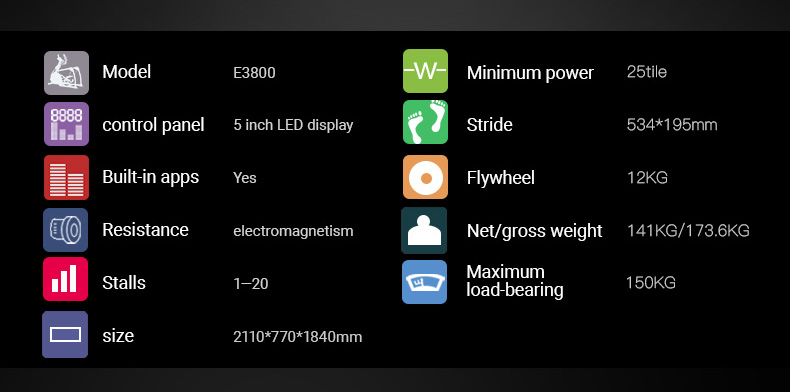
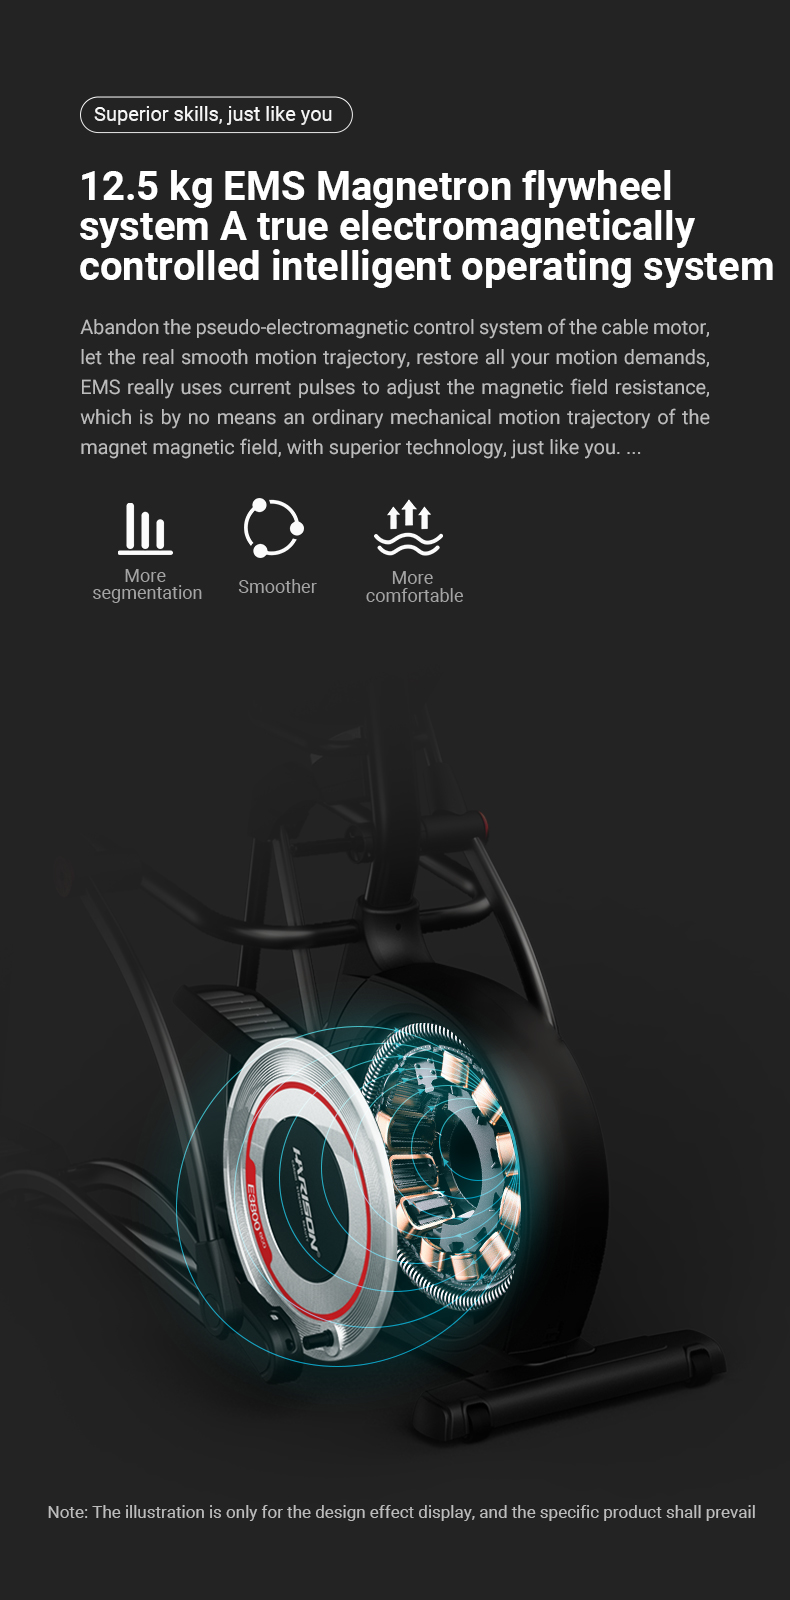
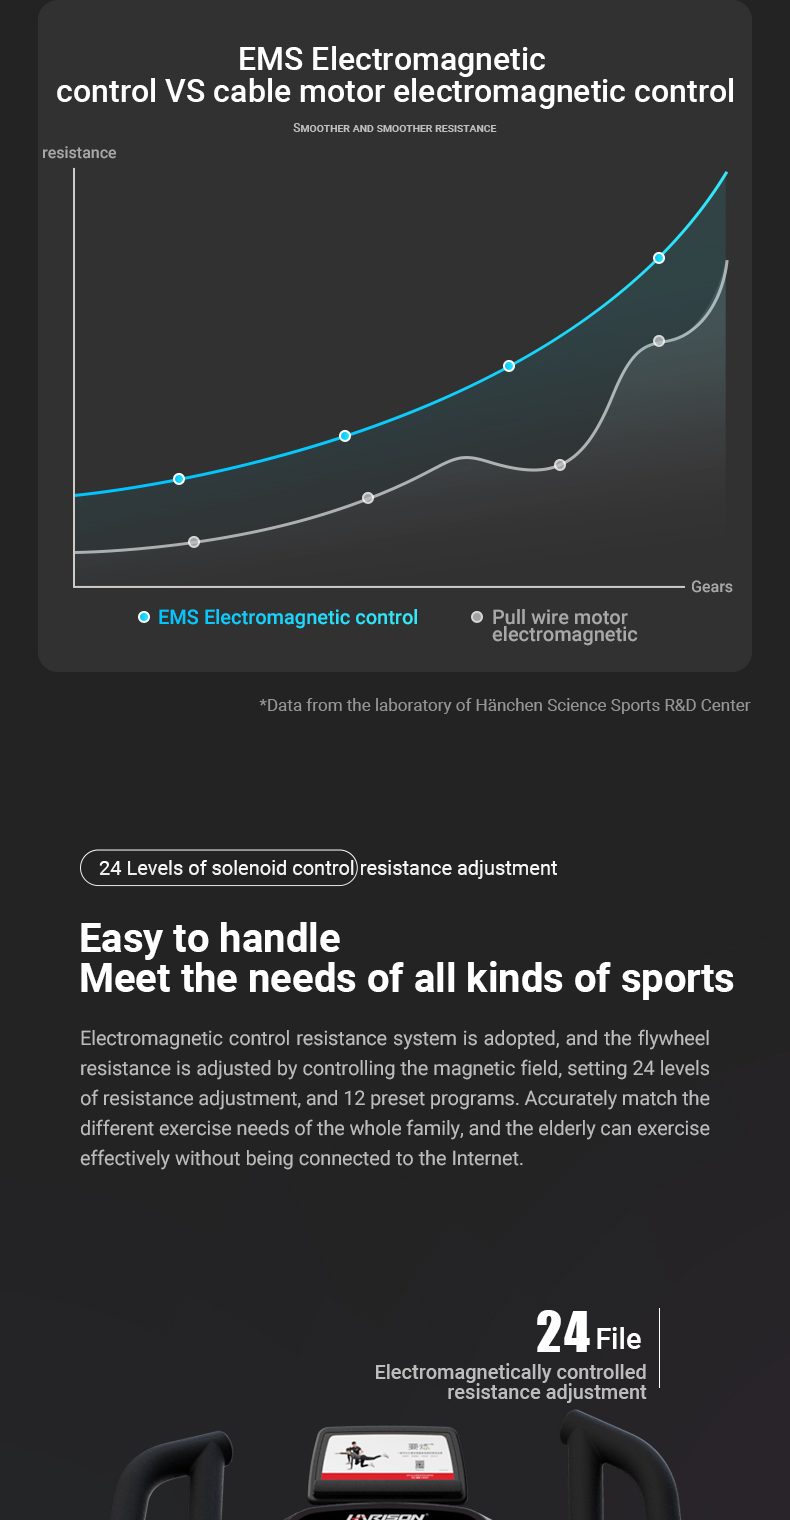
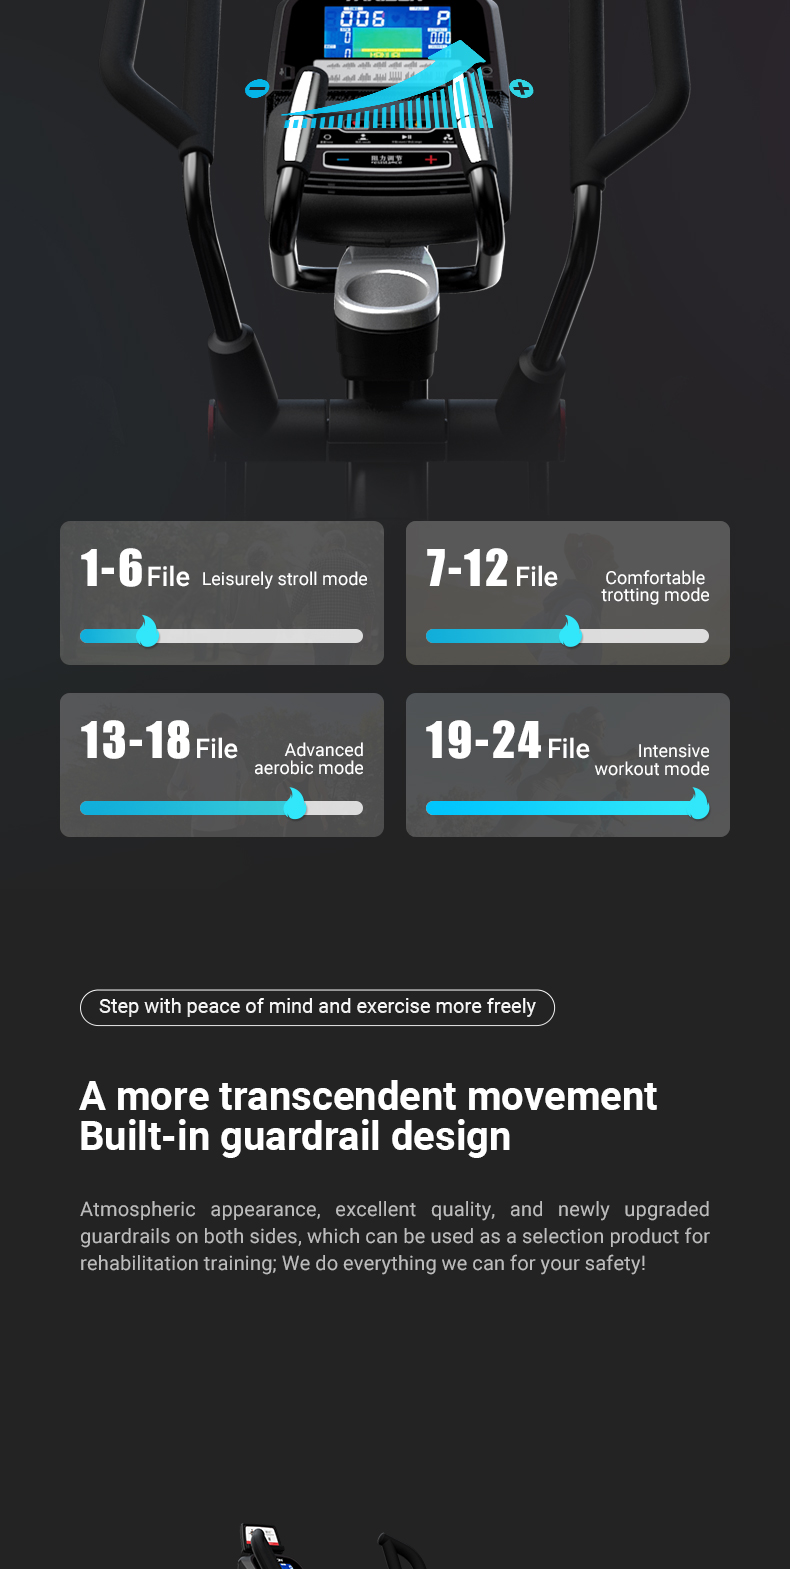
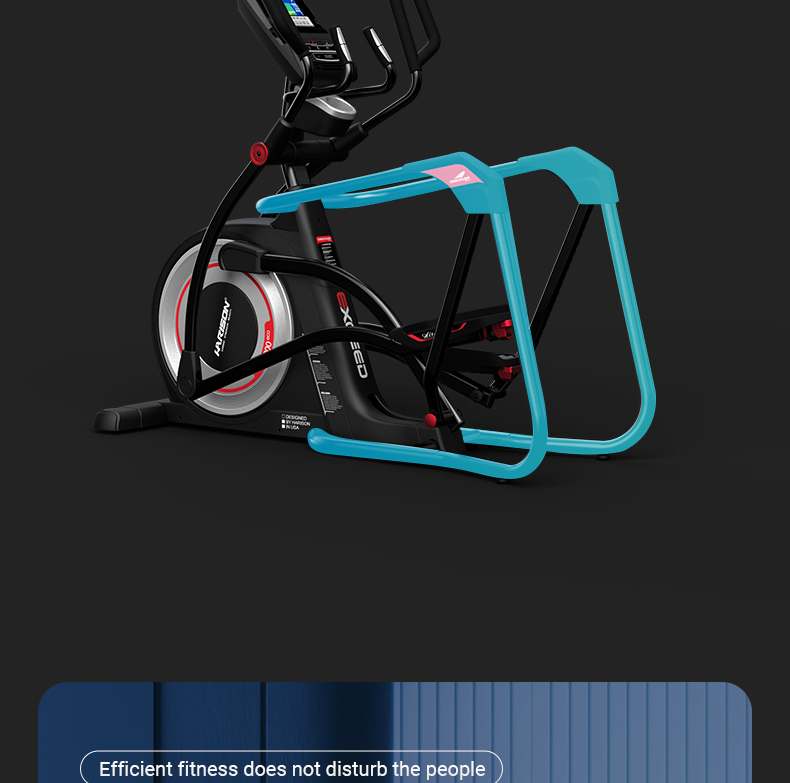
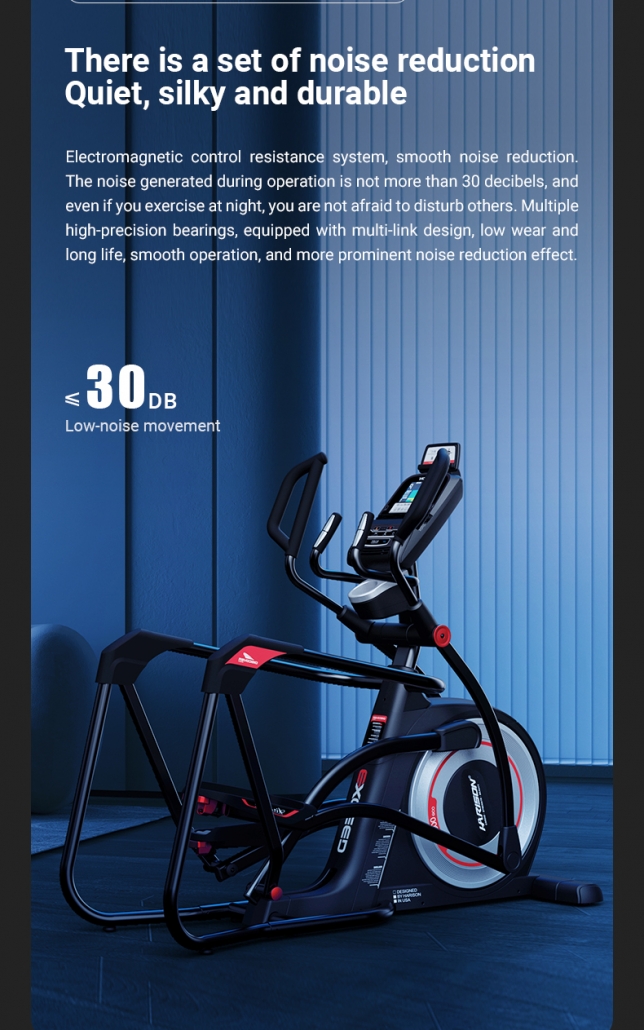
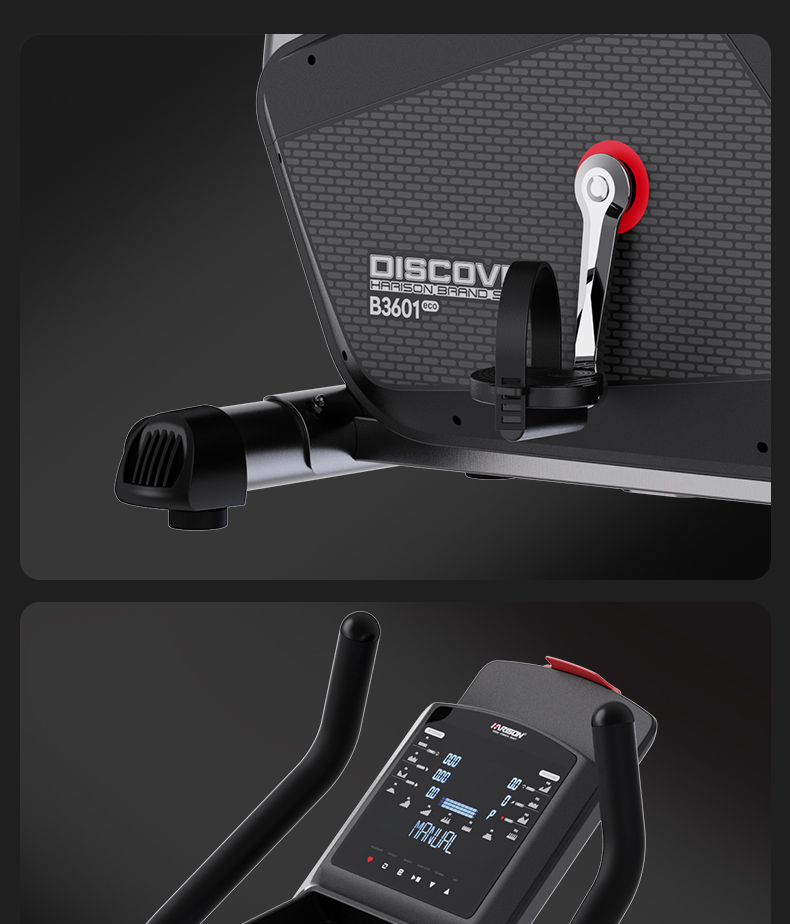
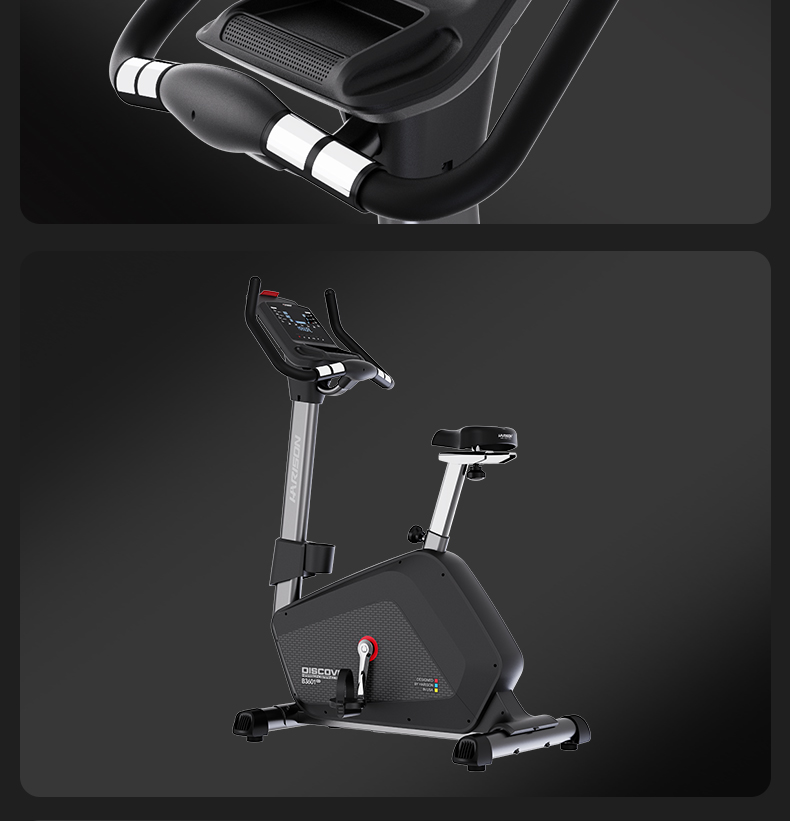
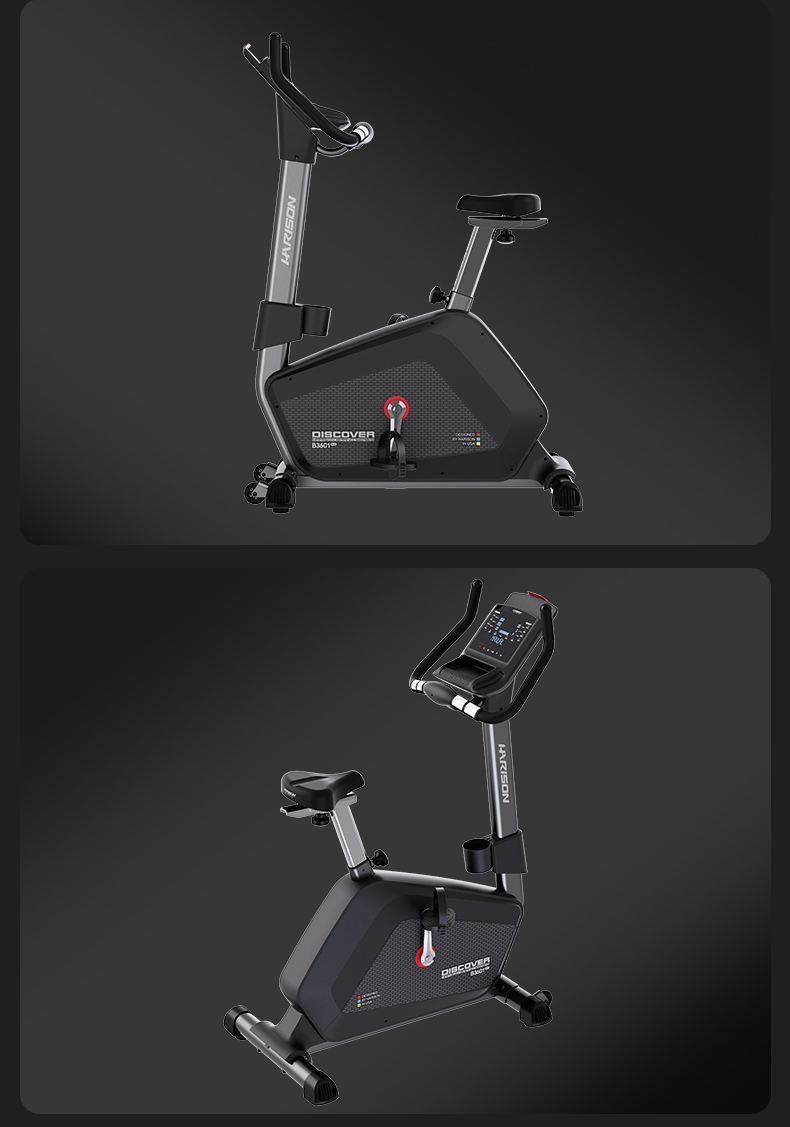
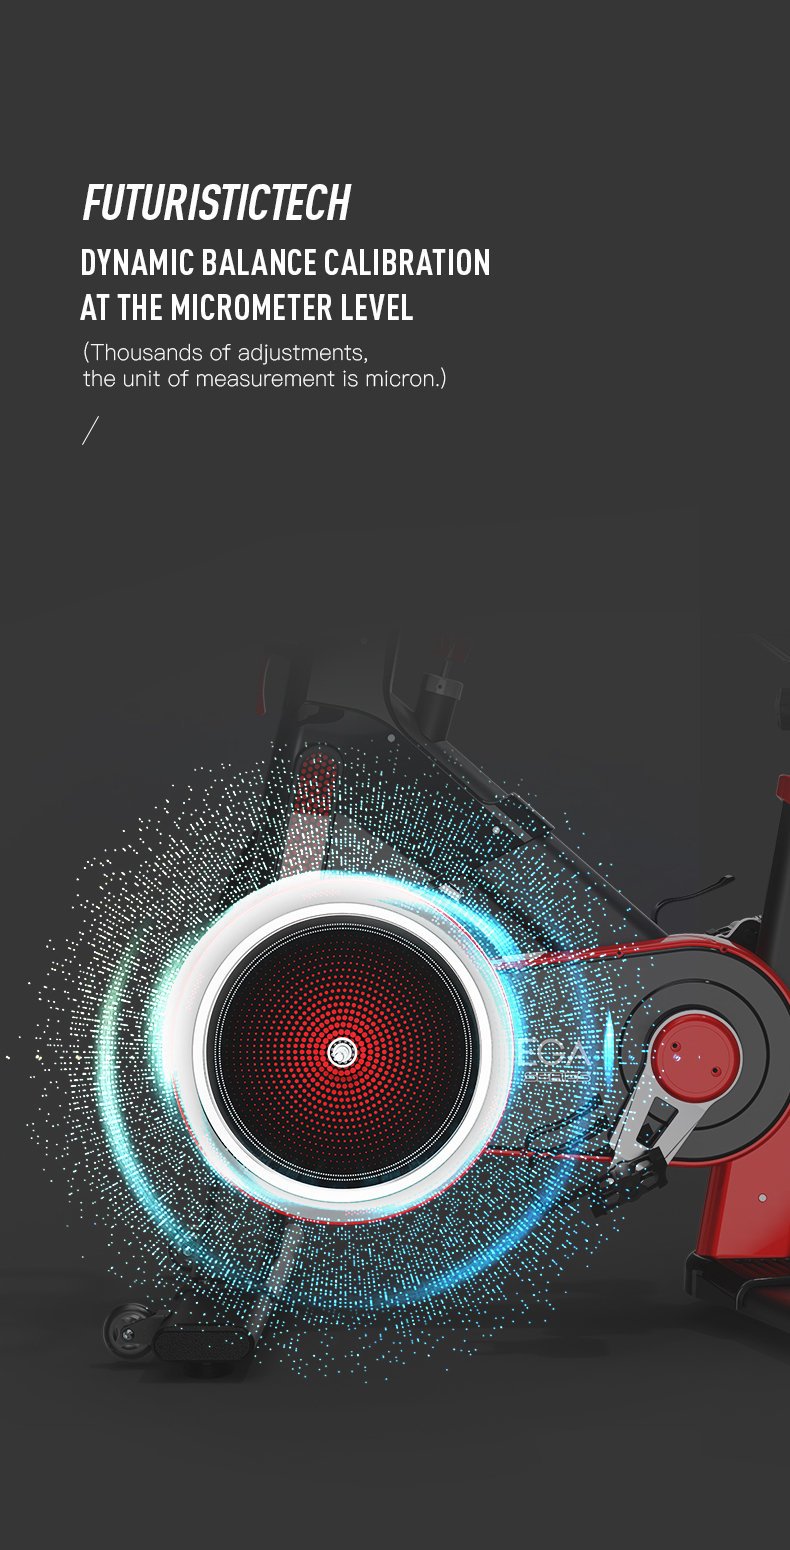
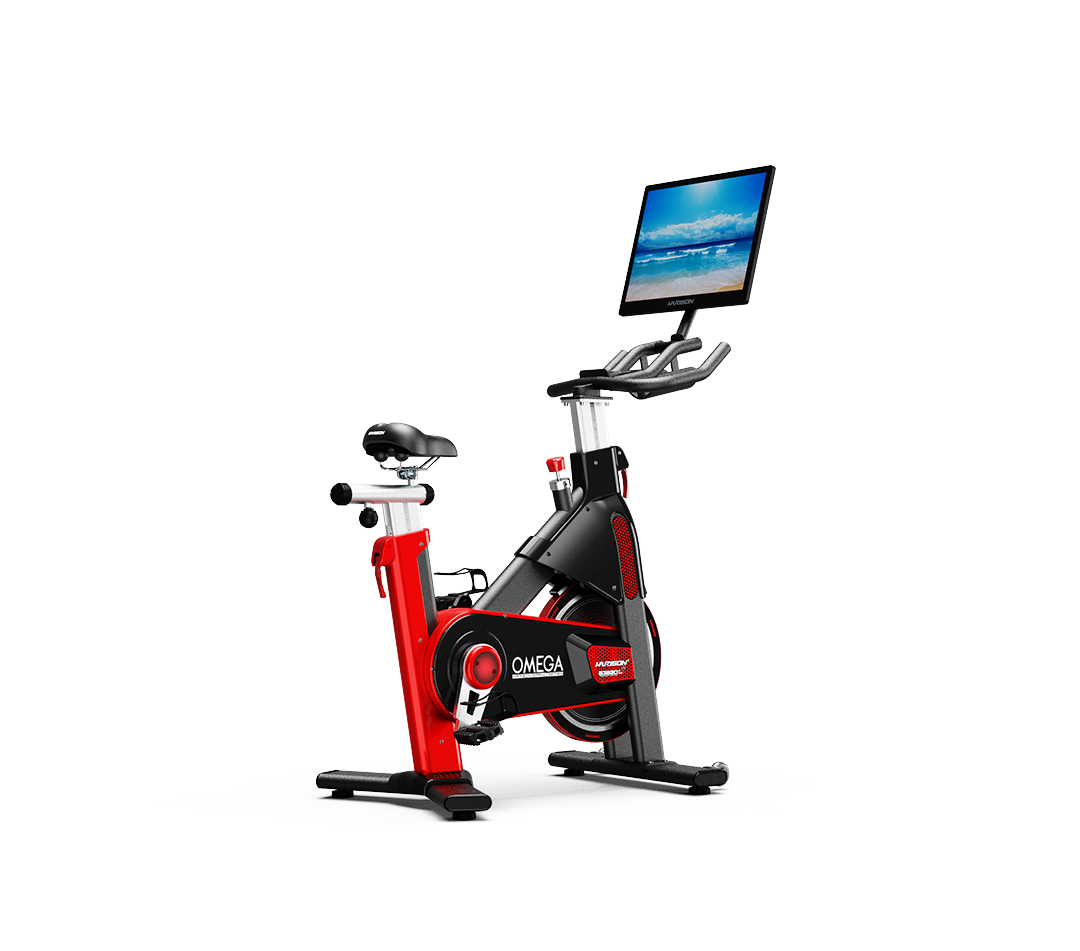
b7 upright exercise bike

Best Exercise Bike for Amputee Rehabilitation: The Harison Bike

Best Exercise Bike for Amputee Rehabilitation: The Harison Bike


The Importance of Exercise for Amputees

Amputees often face unique challenges when staying active and maintaining their physical health. Exercise is essential for amputees, as it can help improve cardiovascular health, build strength and endurance, and boost overall well-being. However, finding the right equipment can be challenging. One option that many amputees turn to is an exercise bike. Based on customer feedback, this article will discuss the best amputee rehabilitation exercise bike.

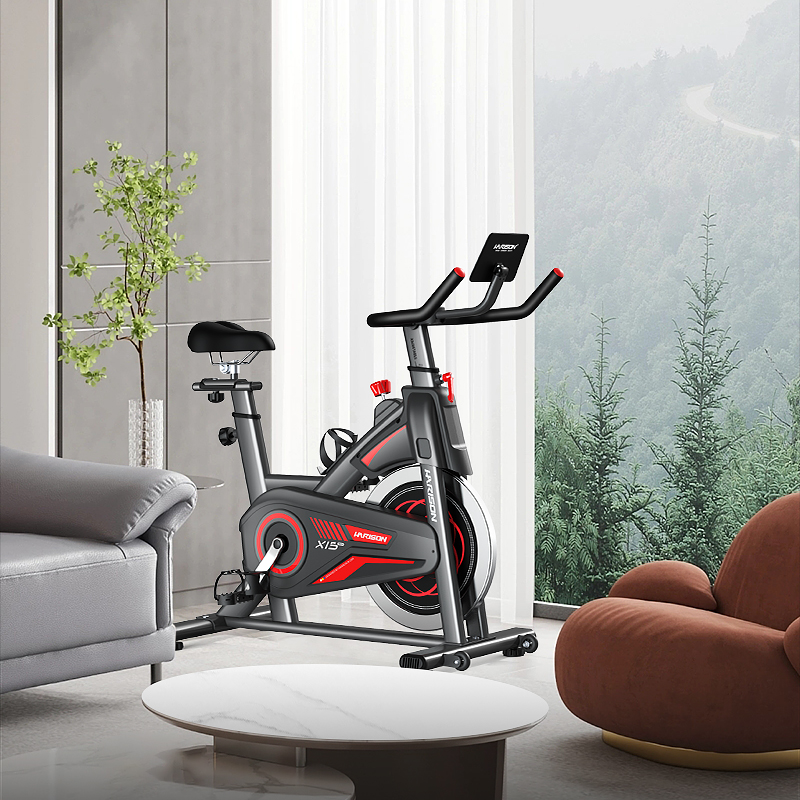
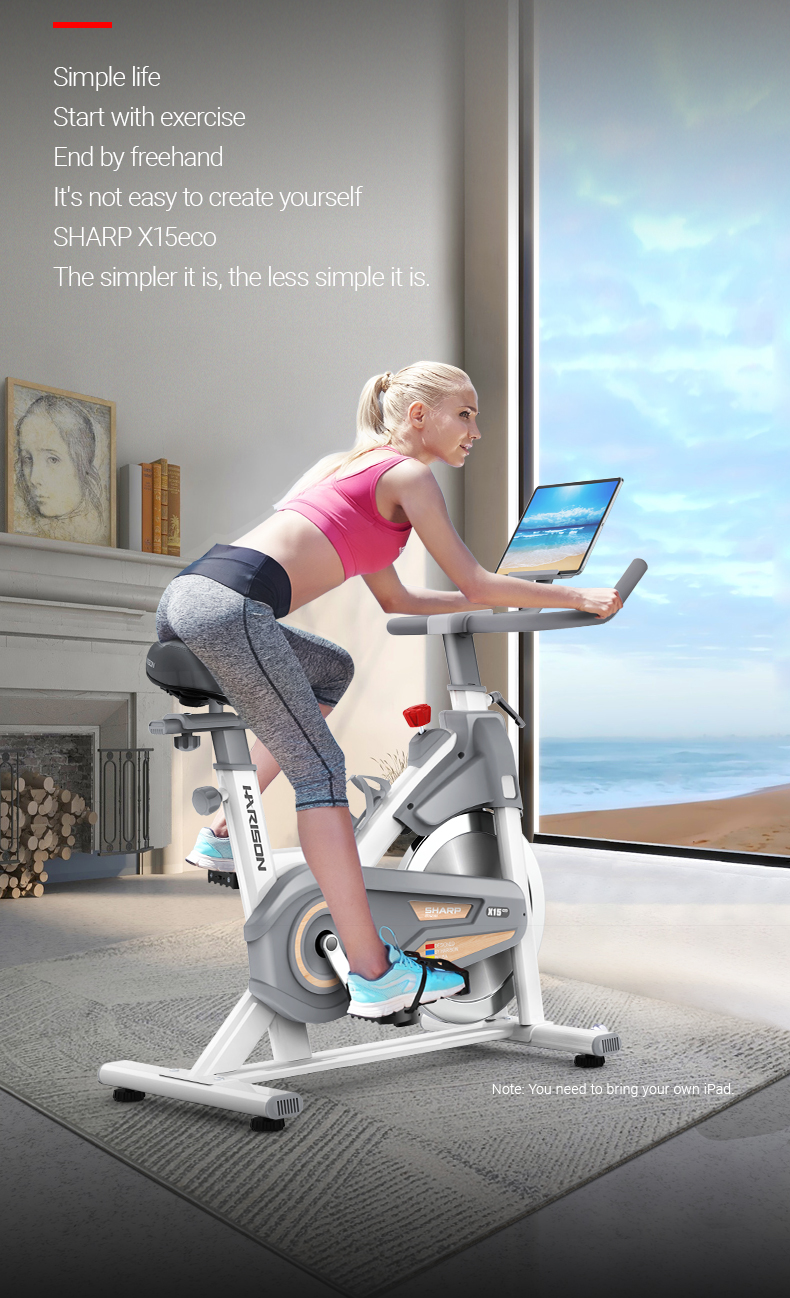
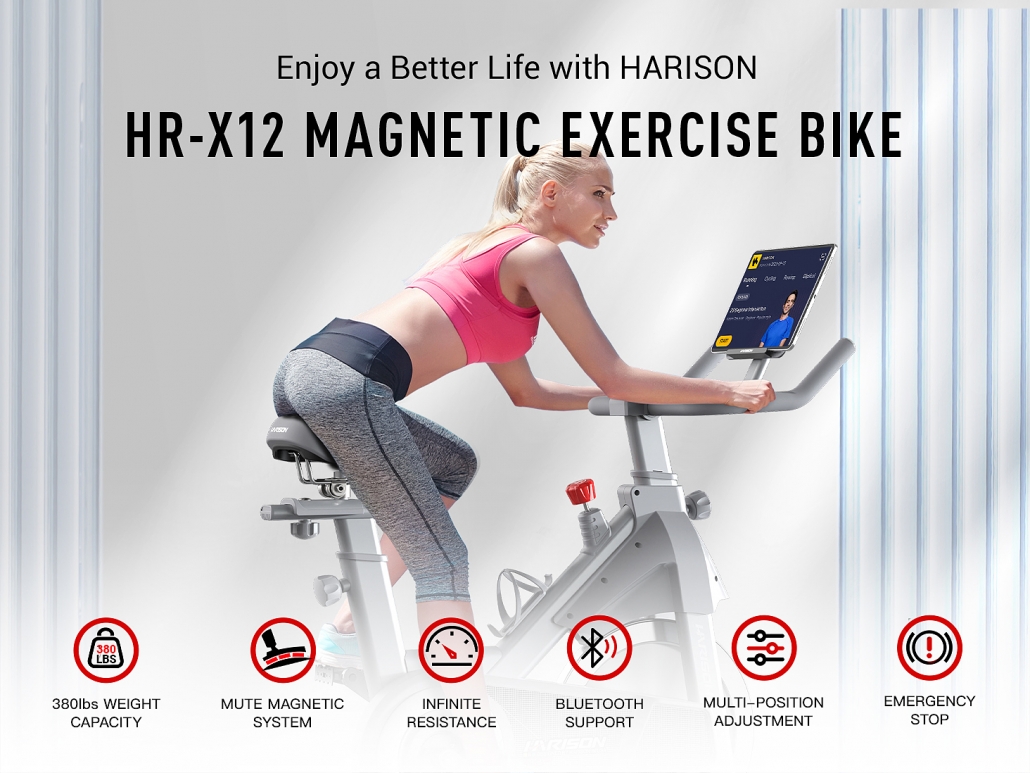
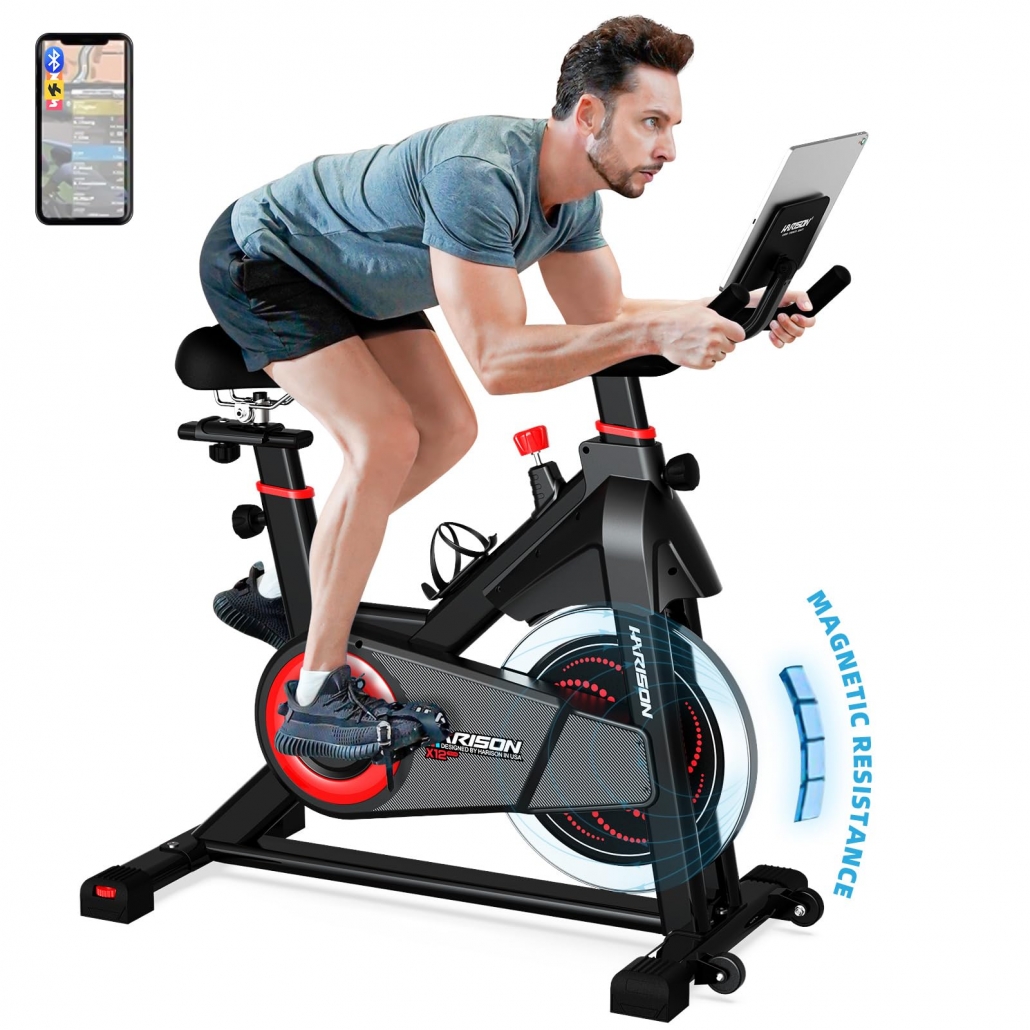
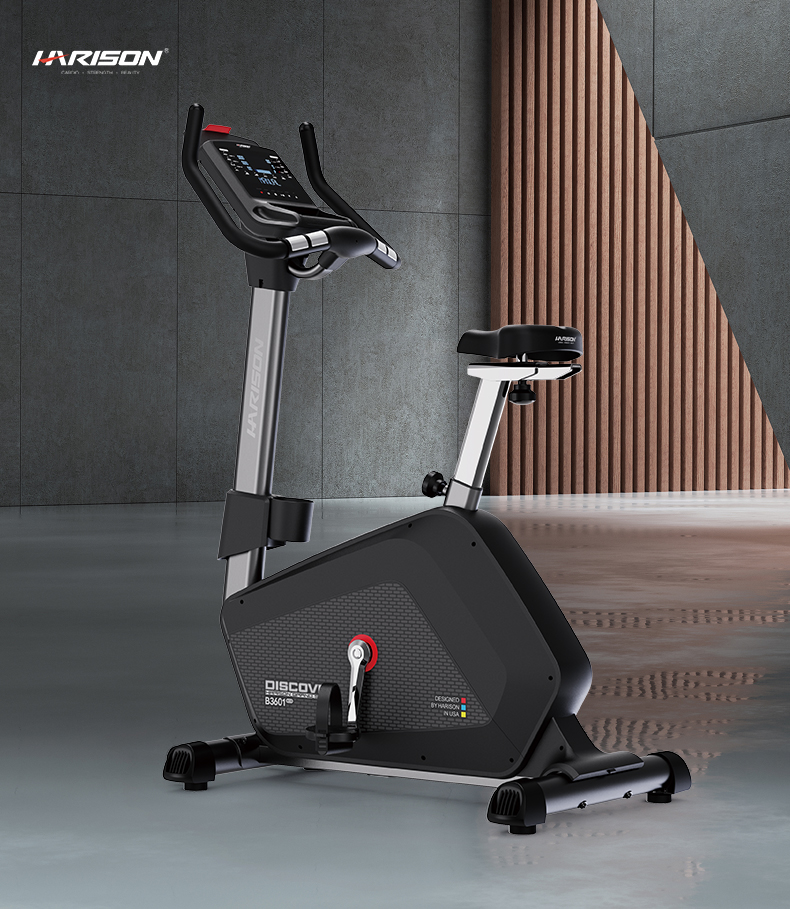
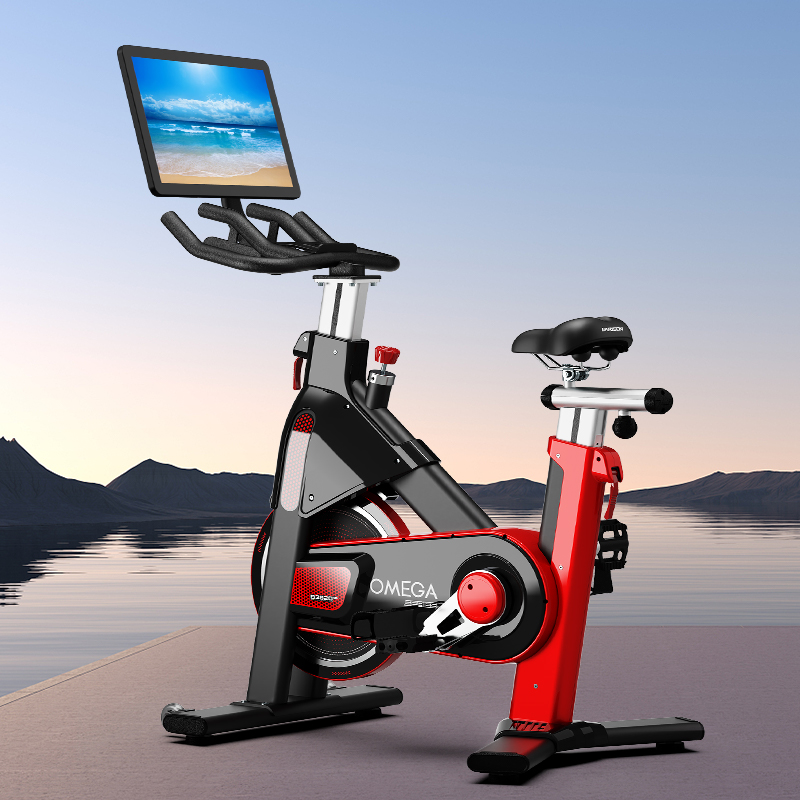
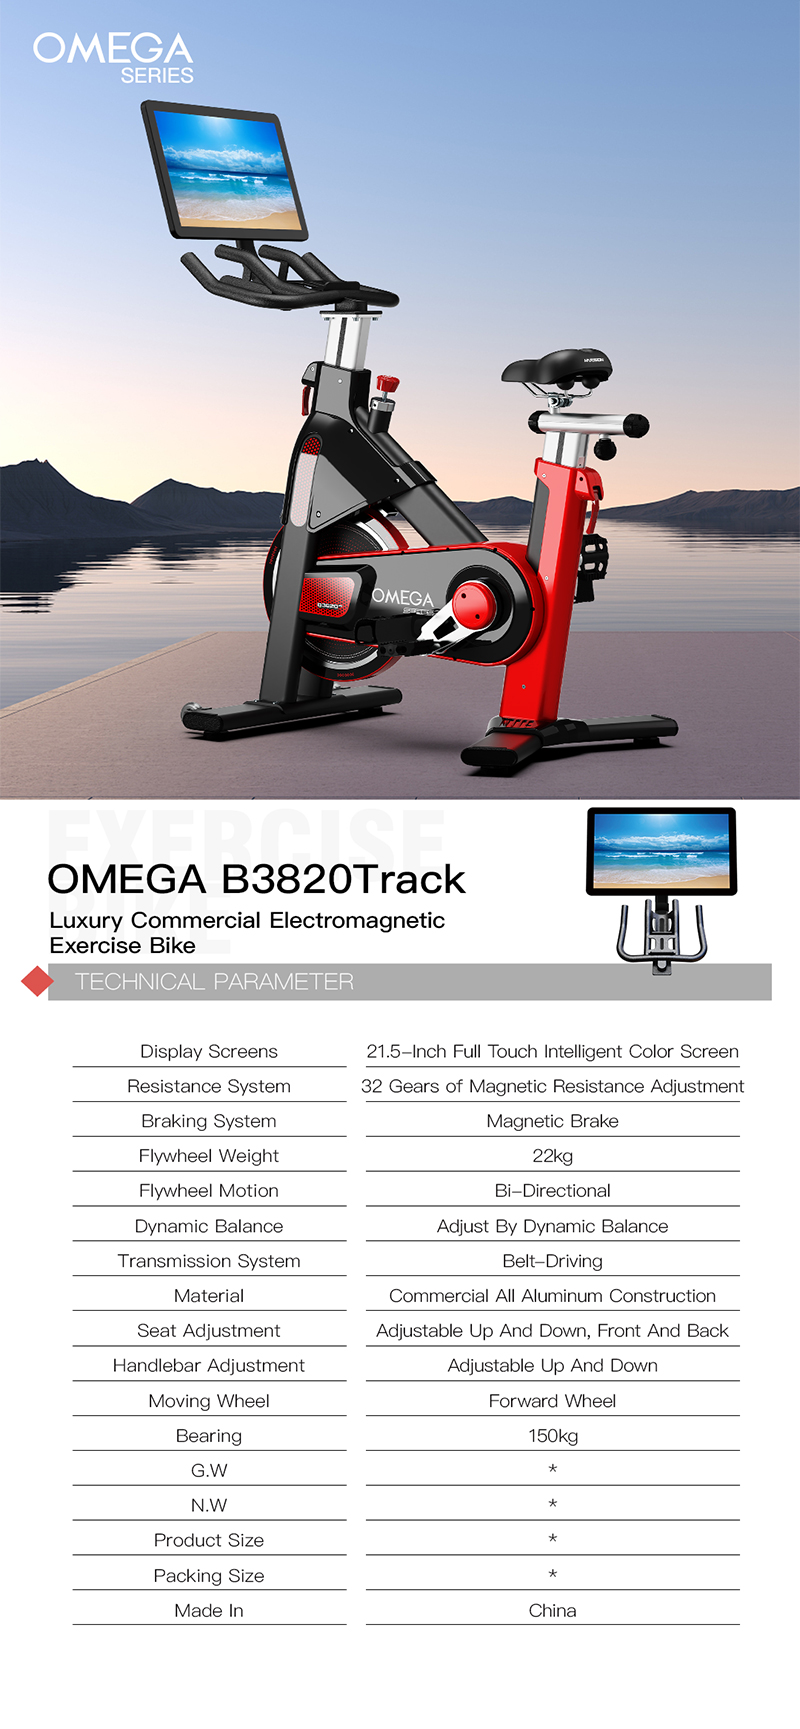
The Harison Stationary Upright Exercise Bike with Magnetic Resistance Series B7

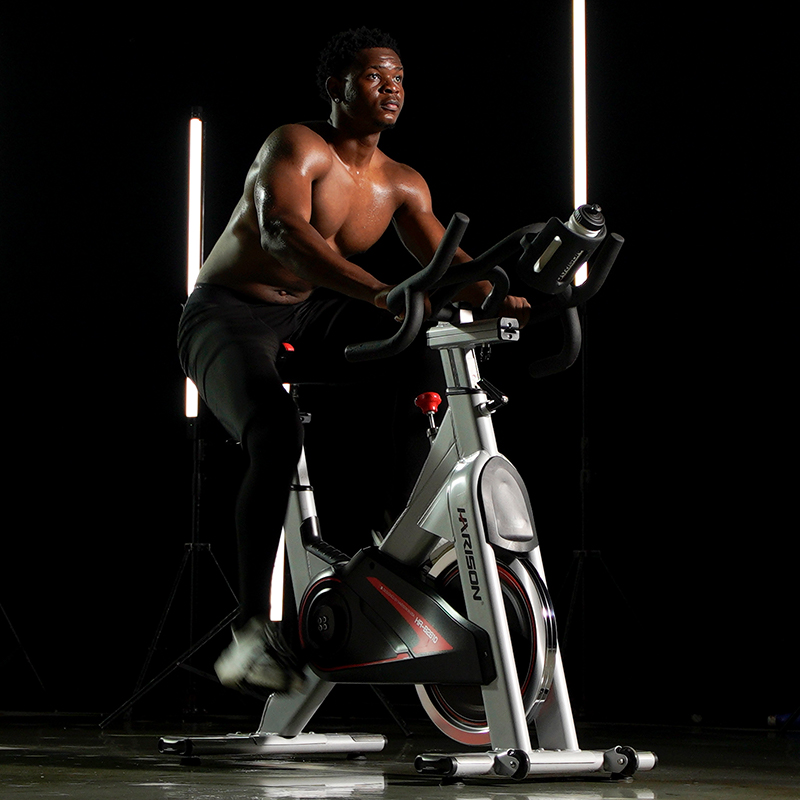
According to customer feedback, the Harison Stationary Upright Exercise Bike with Magnetic Resistance Series B7 is an excellent option for amputee rehabilitation. One customer shared that their brother-in-law had used this bike for a year and a half to keep his cardiovascular system in shape. He uses the cycle five days a week for sessions ranging from an hour to an hour and a half.


The_best amputee rehabilitation exercise bike-amputee,exercise_bike

Benefits of the Harison Exercise Bike for Amputees

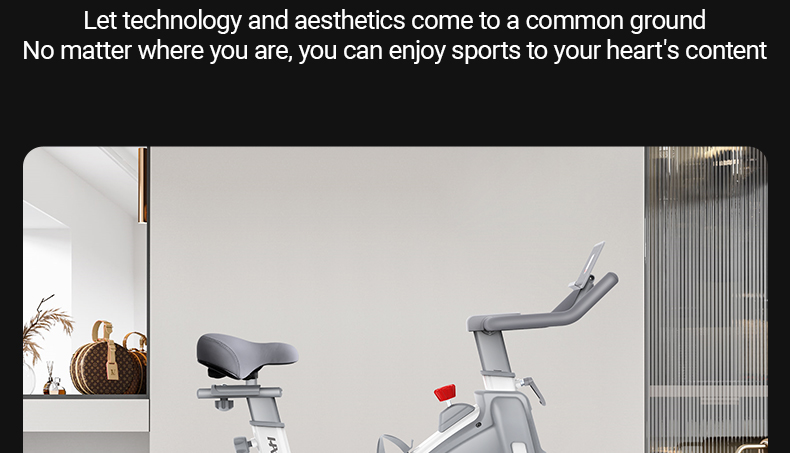
The Harison Stationary Upright Exercise Bike with Magnetic Resistance Series B7 is a high-quality exercise bike designed to meet the specific needs of amputees. The bike has various innovative features and specifications, making it an excellent choice for amputee rehabilitation. Here are some of the benefits:

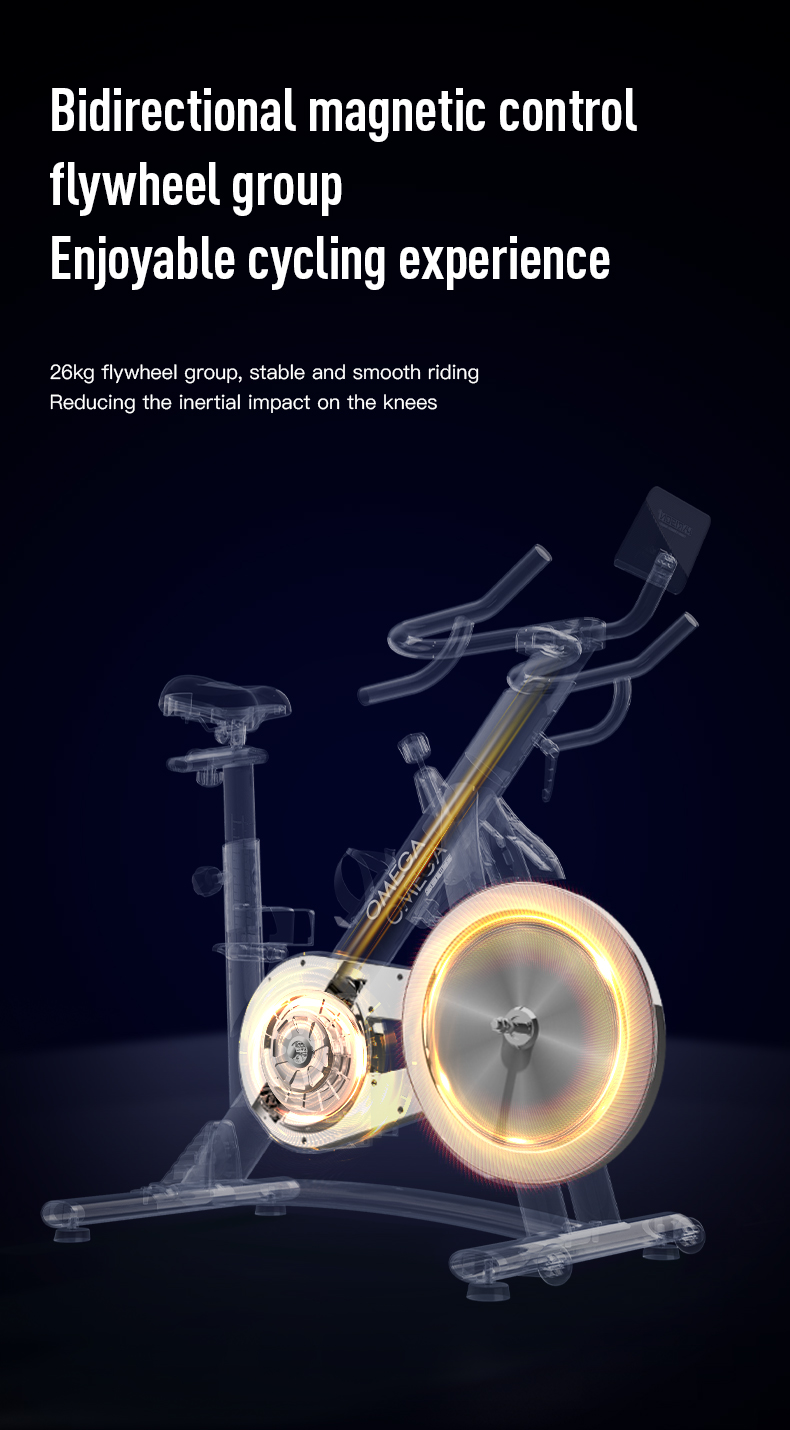
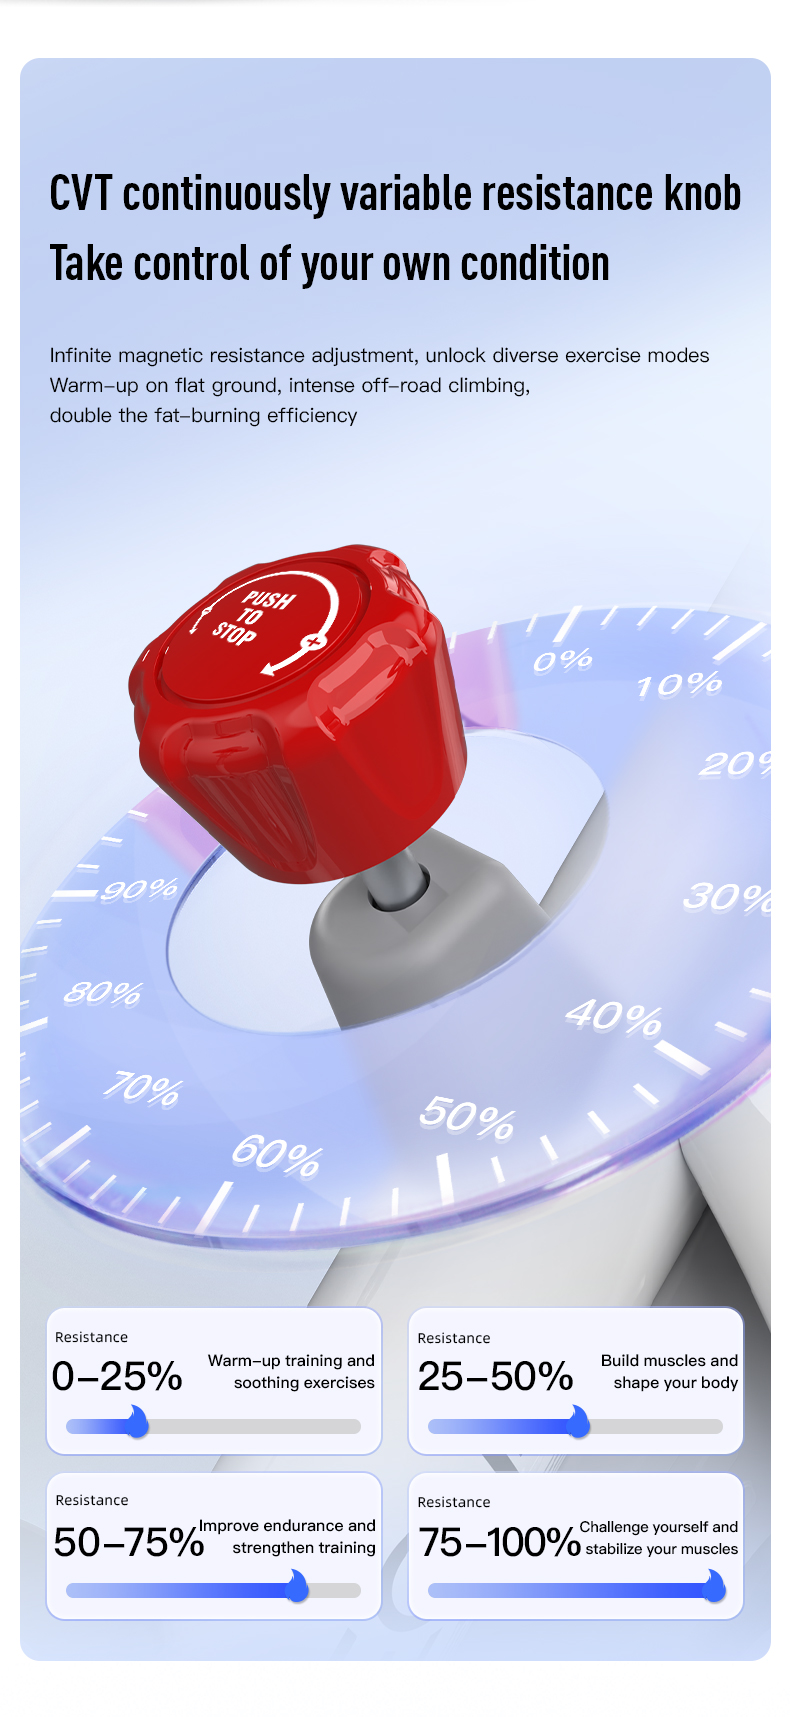
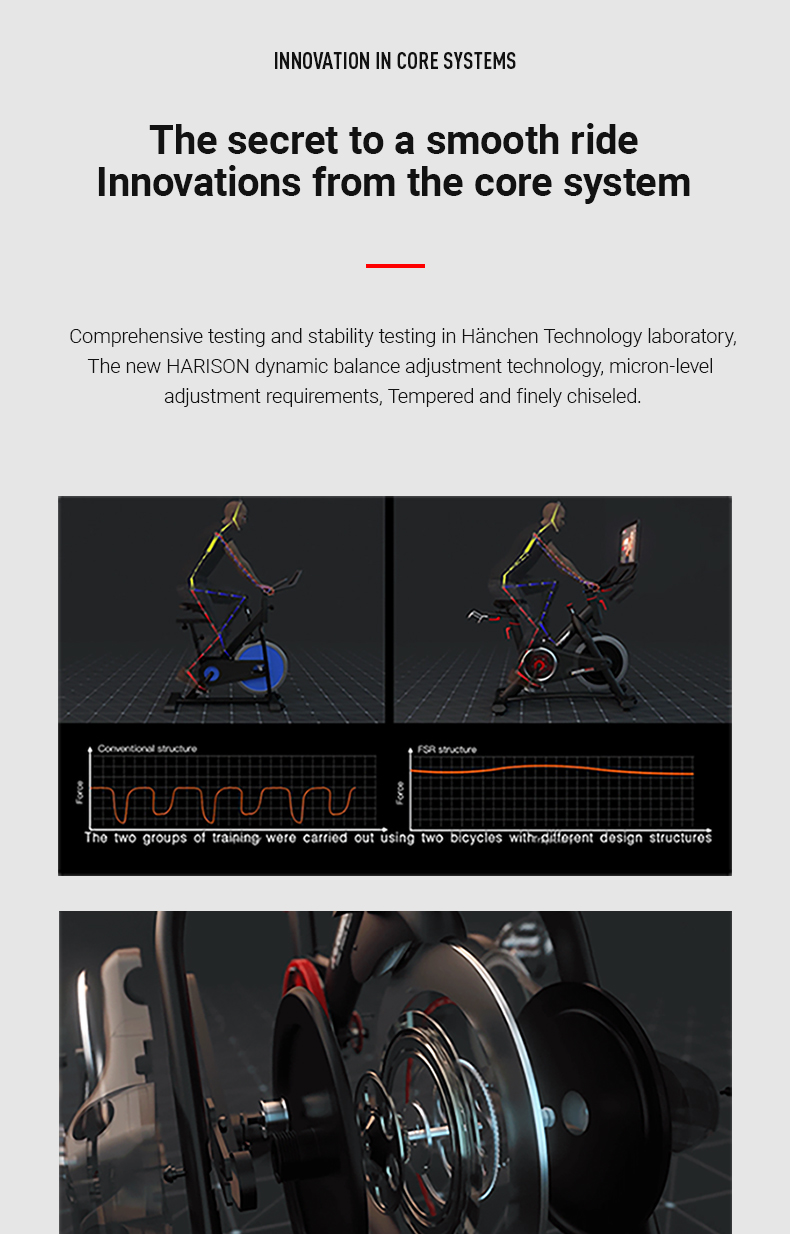
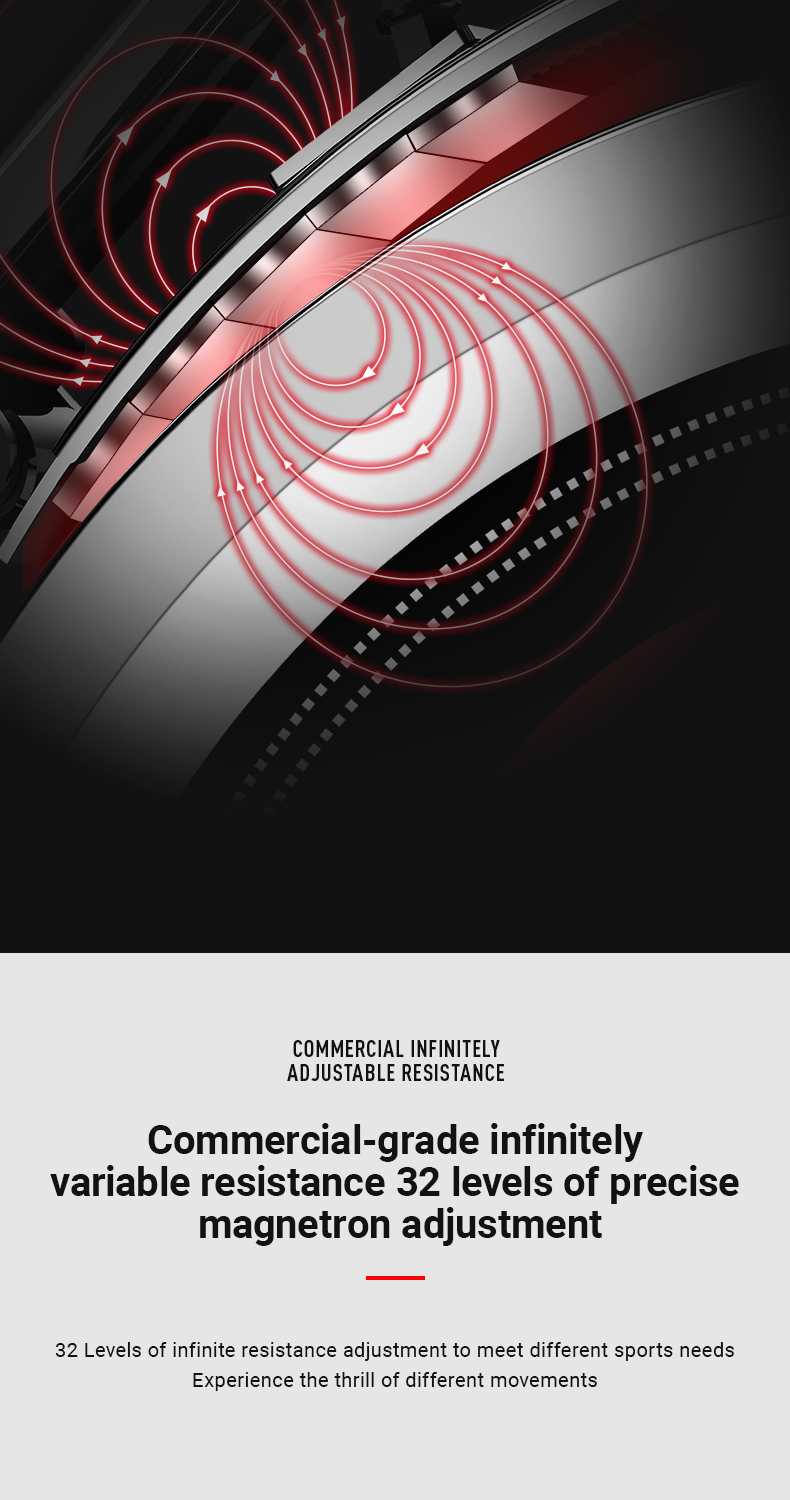
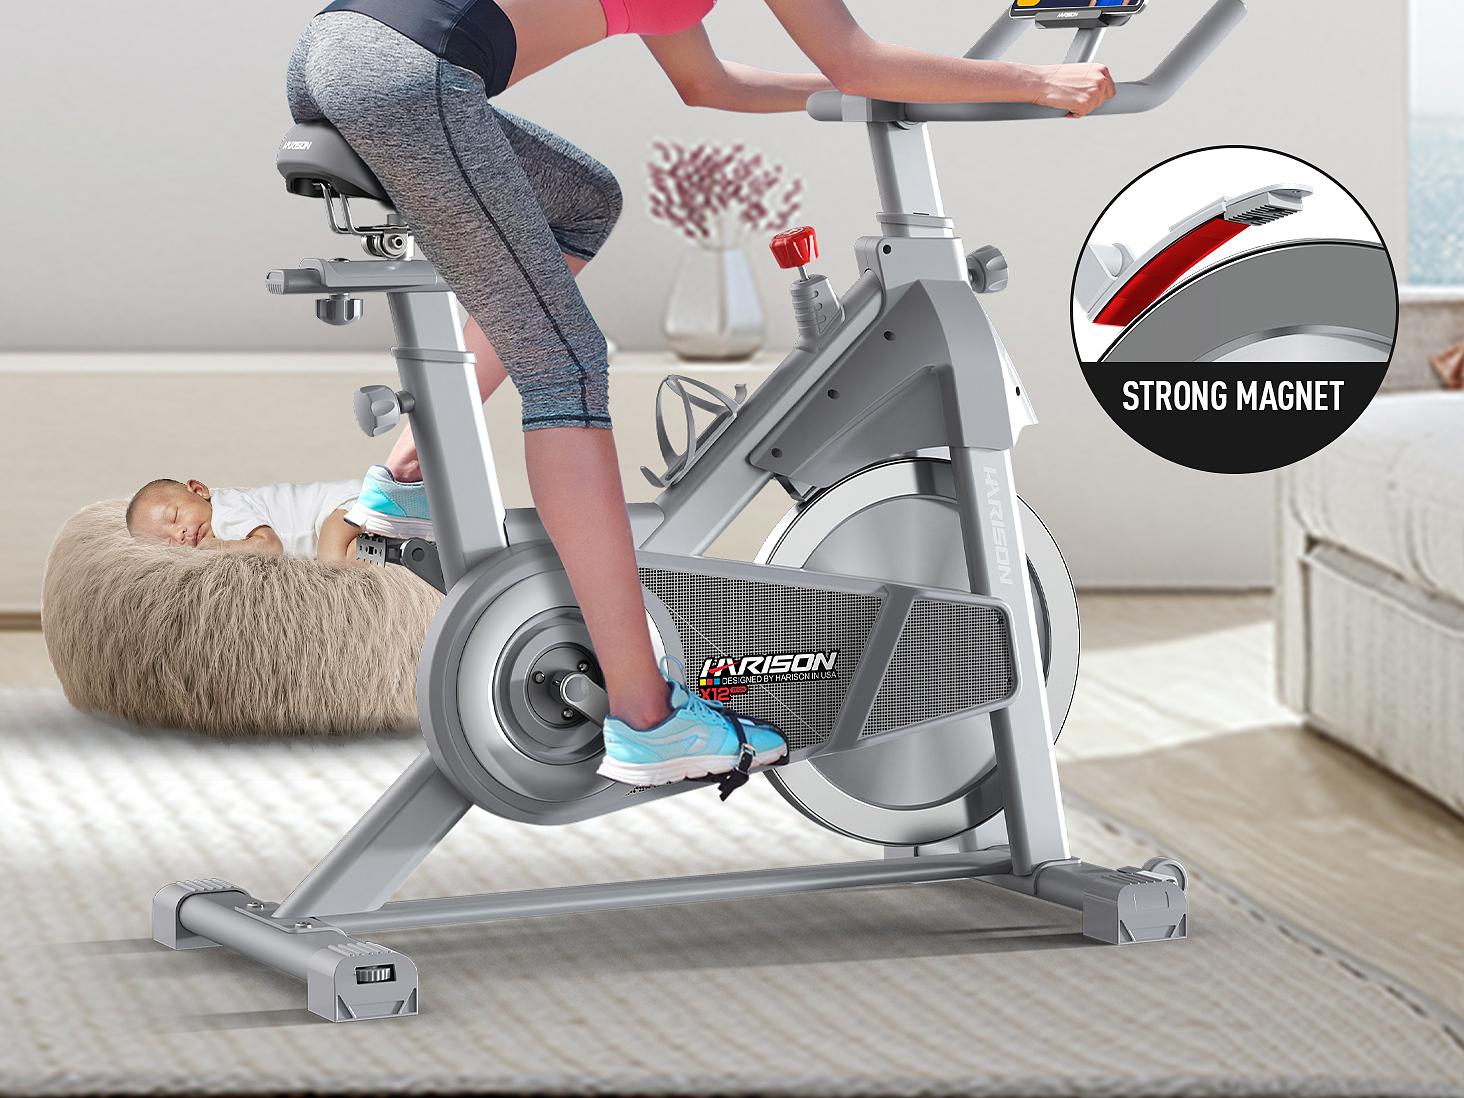
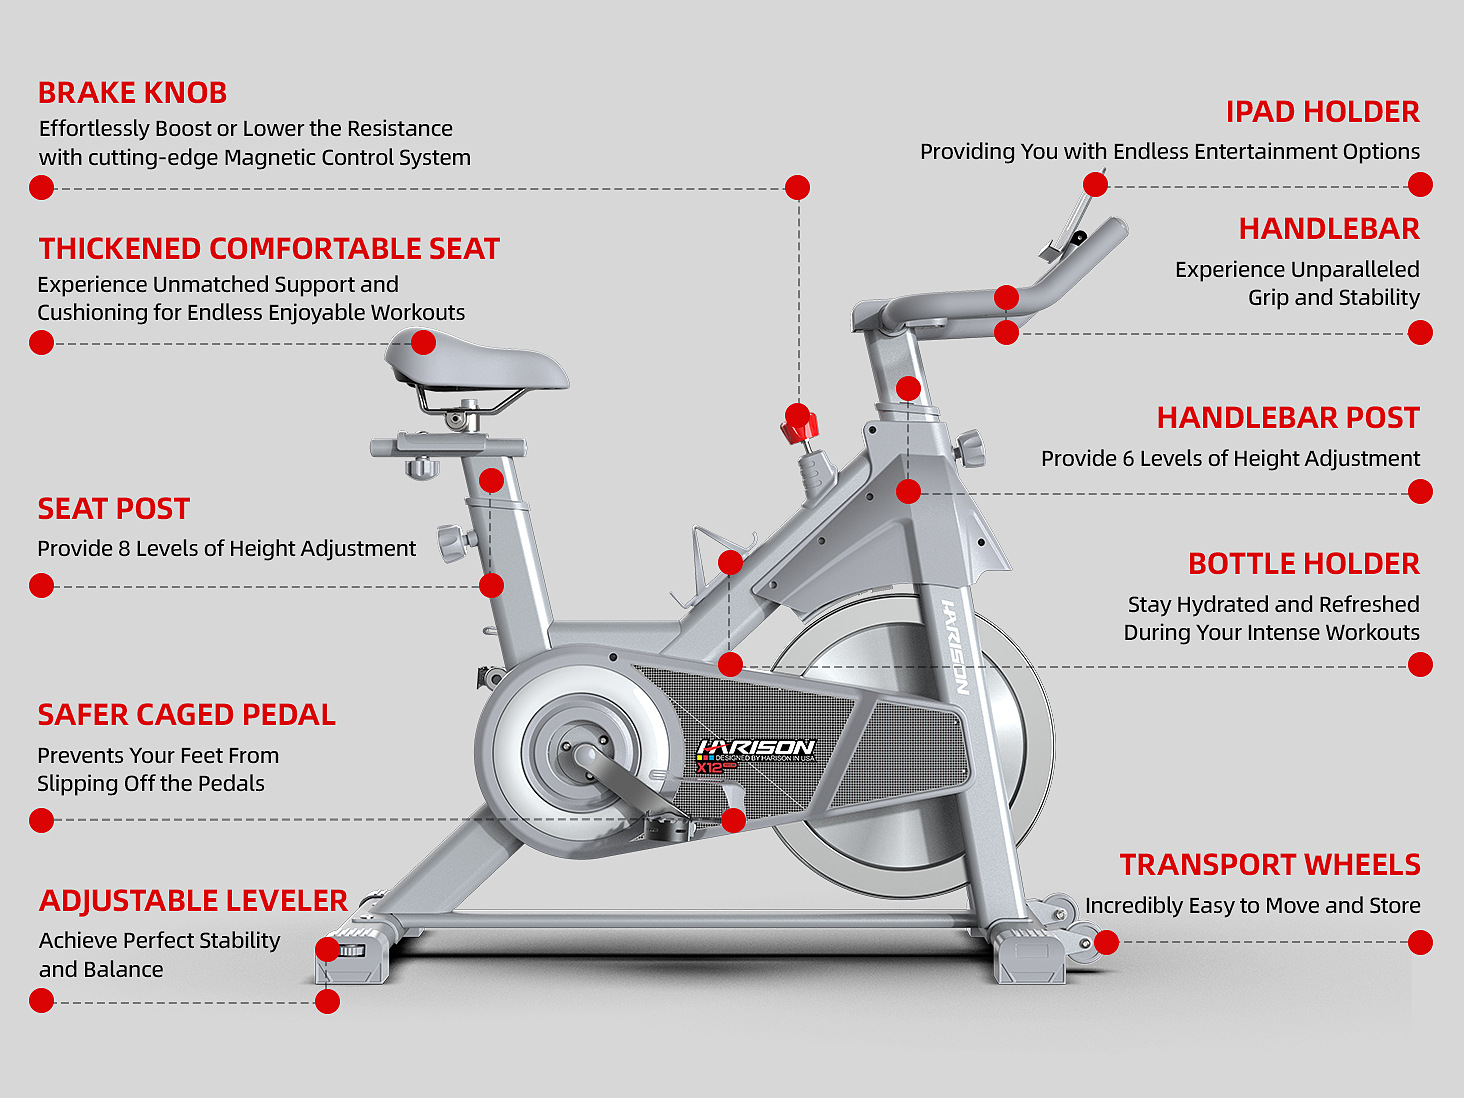
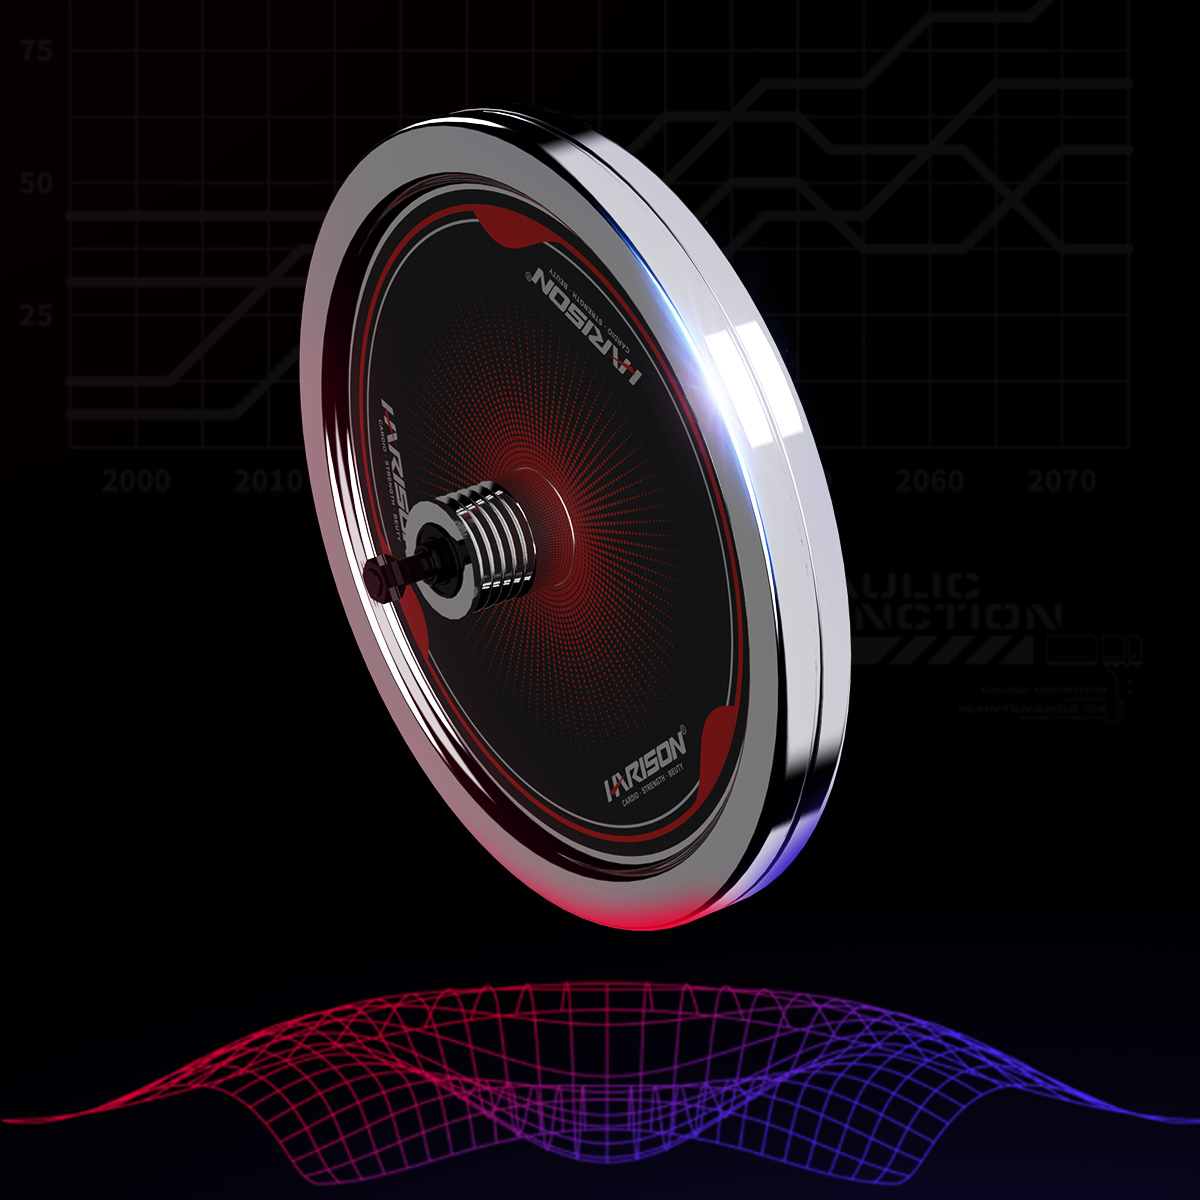
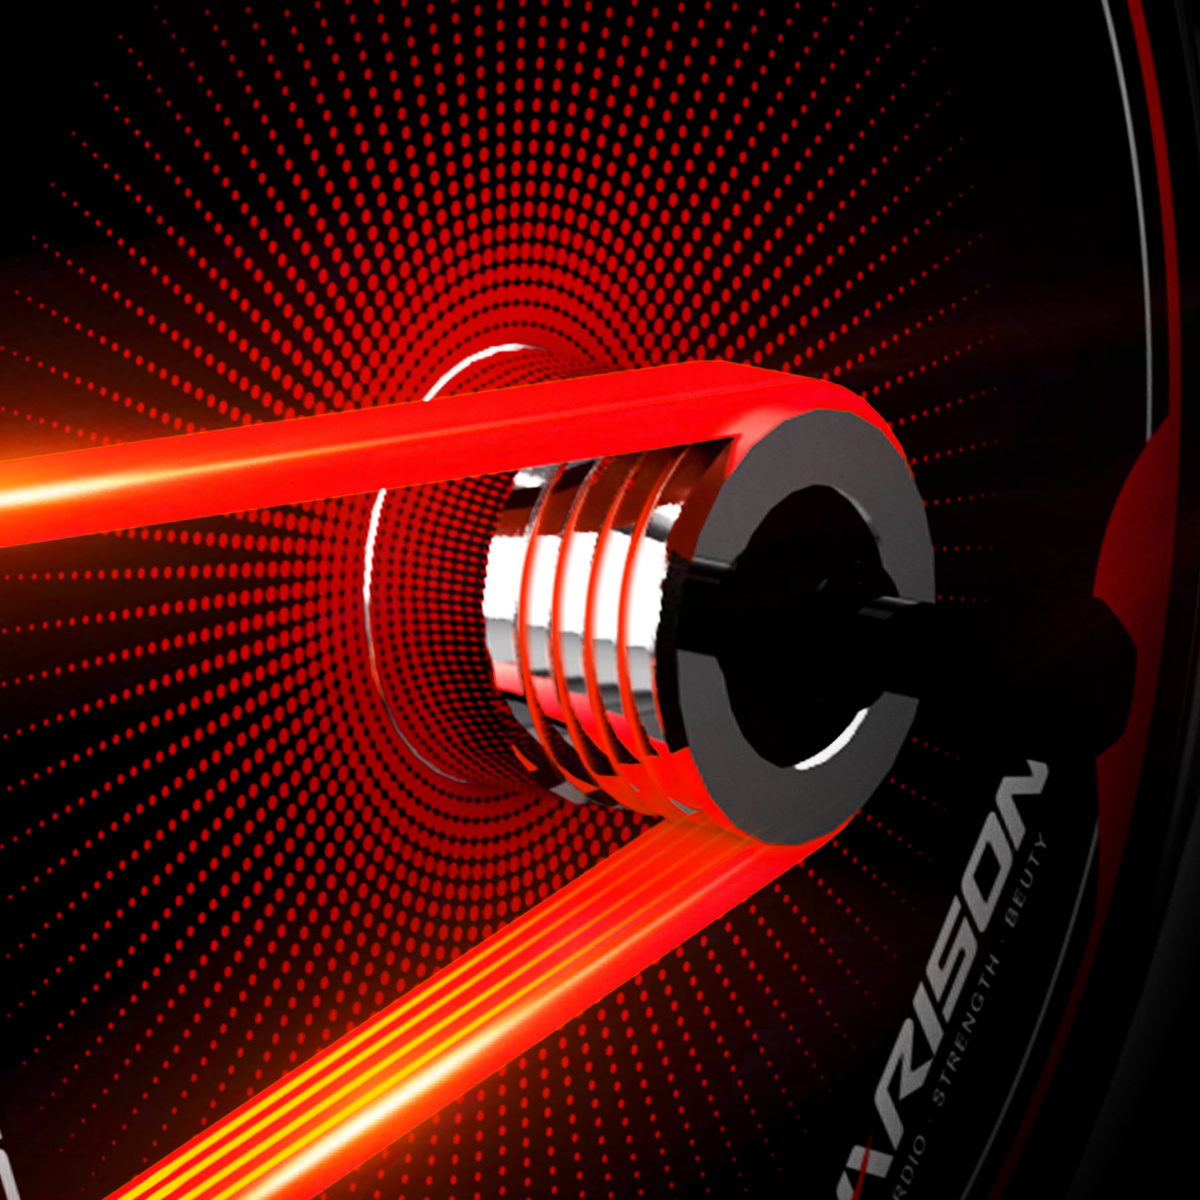
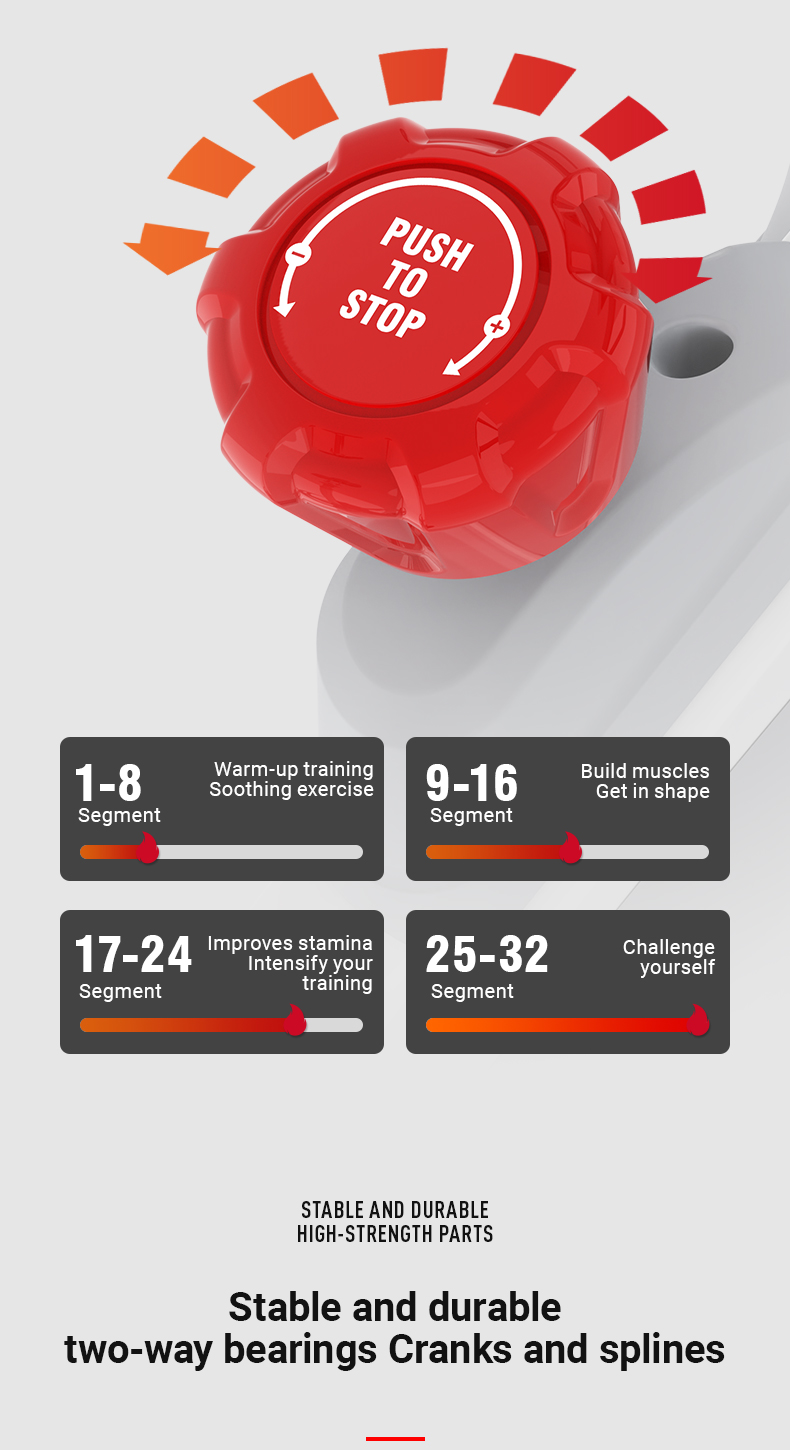
  • Magnetic Resistance: The Harison Exercise Bike is equipped with magnetic resistance, providing a smooth and quiet ride. This feature is essential for amputees, who may have sensitive joints or experience discomfort during exercise. The magnetic resistance also allows for more precise control over the intensity of the workout.
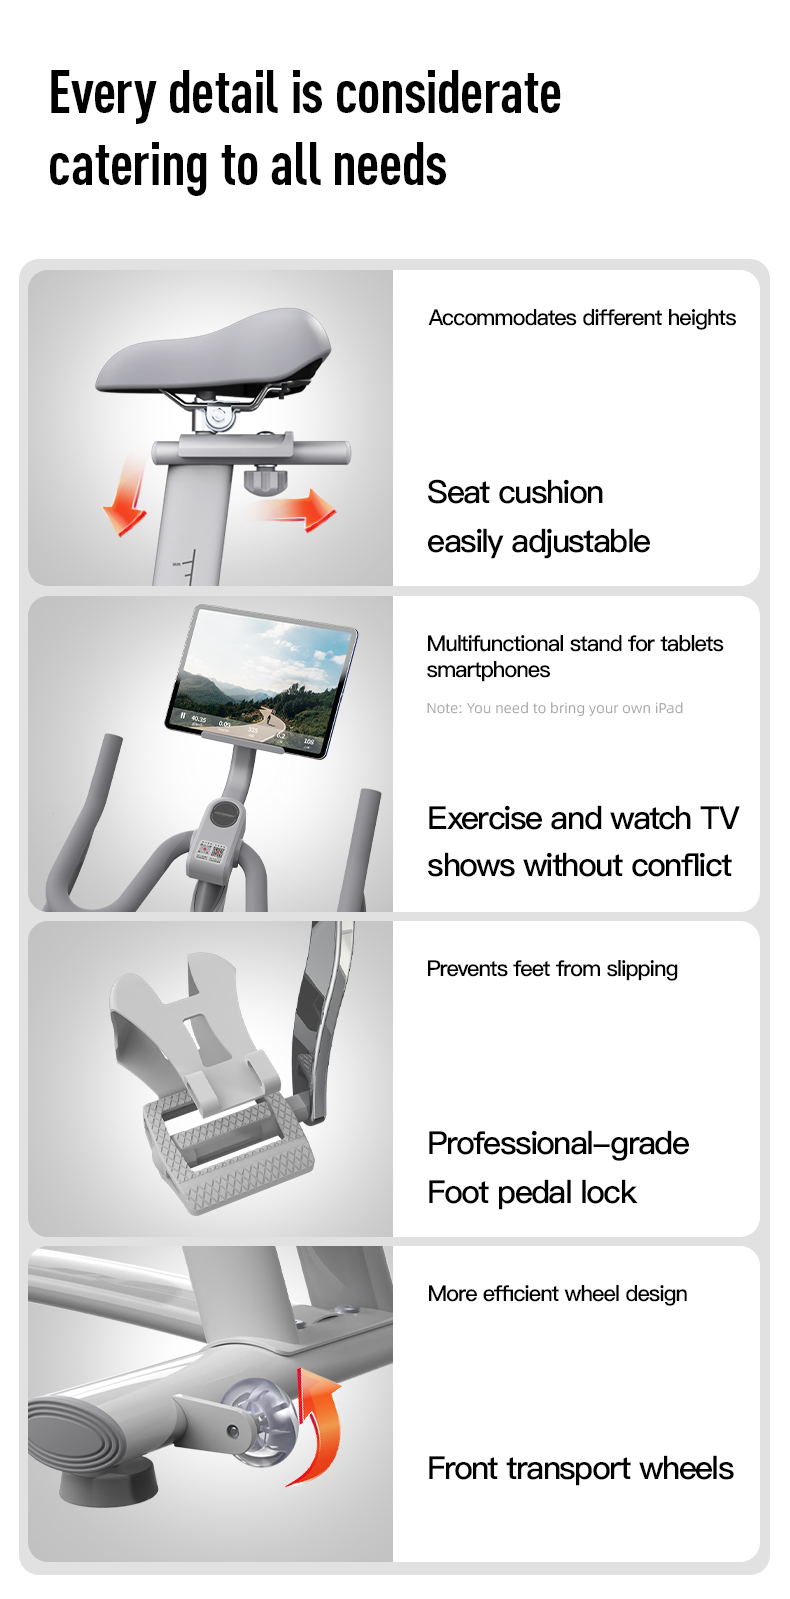
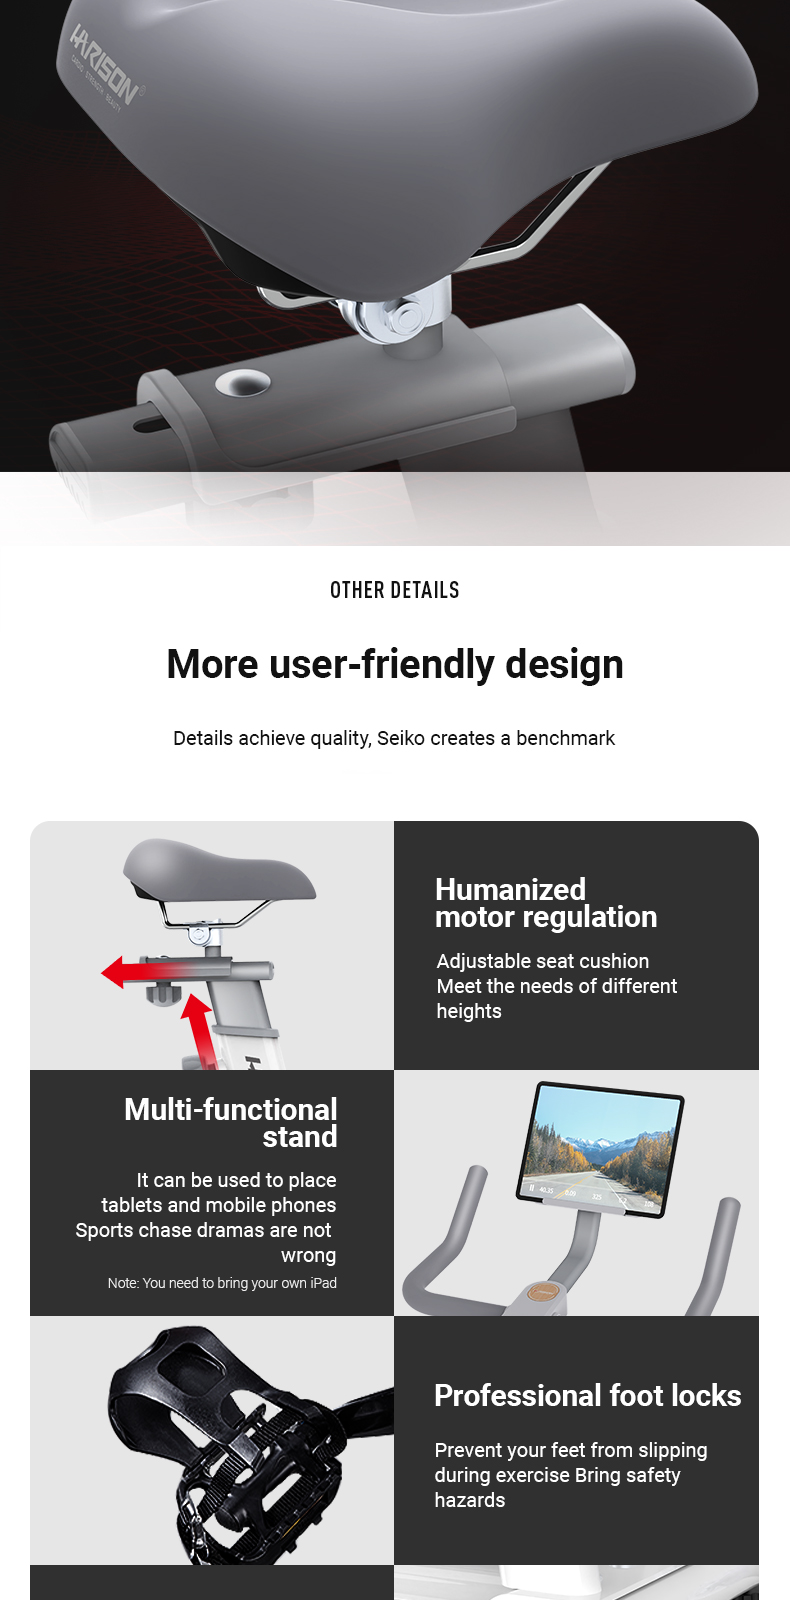
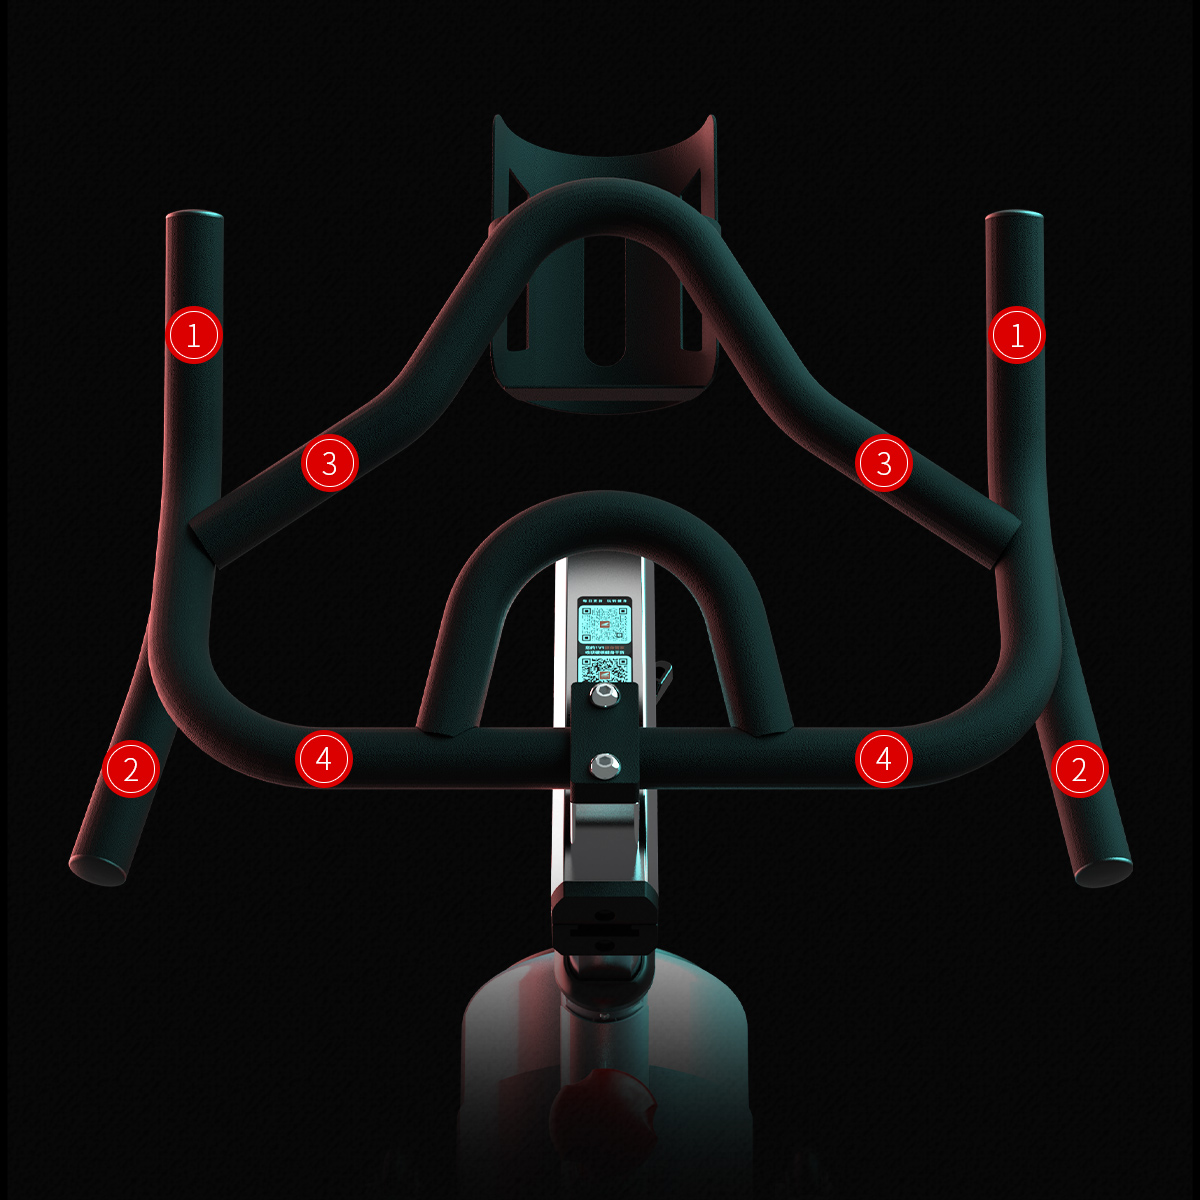
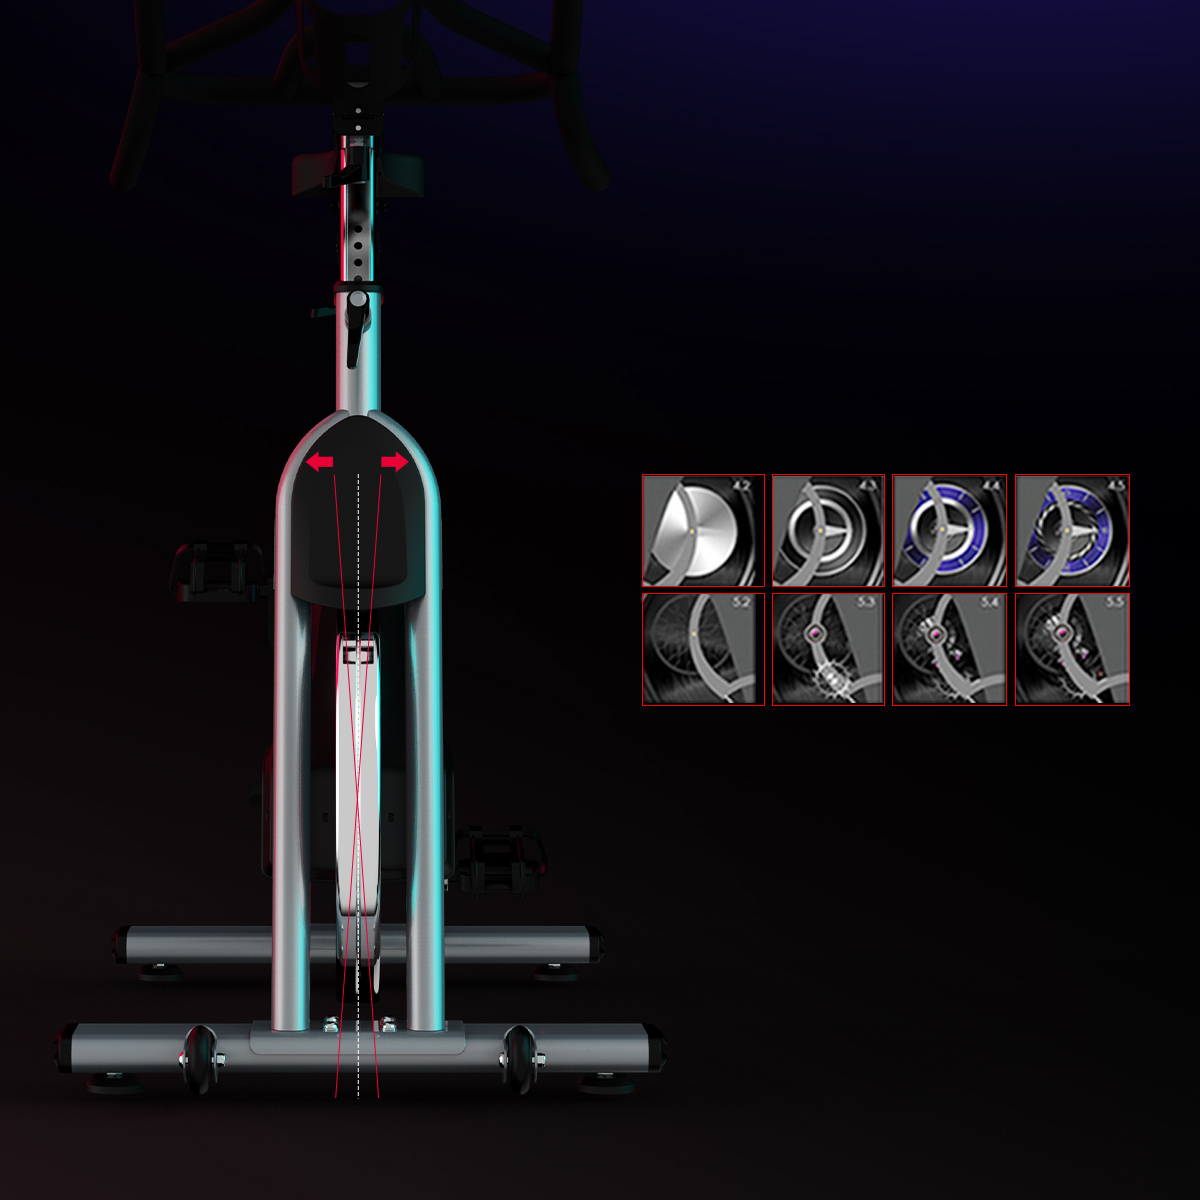
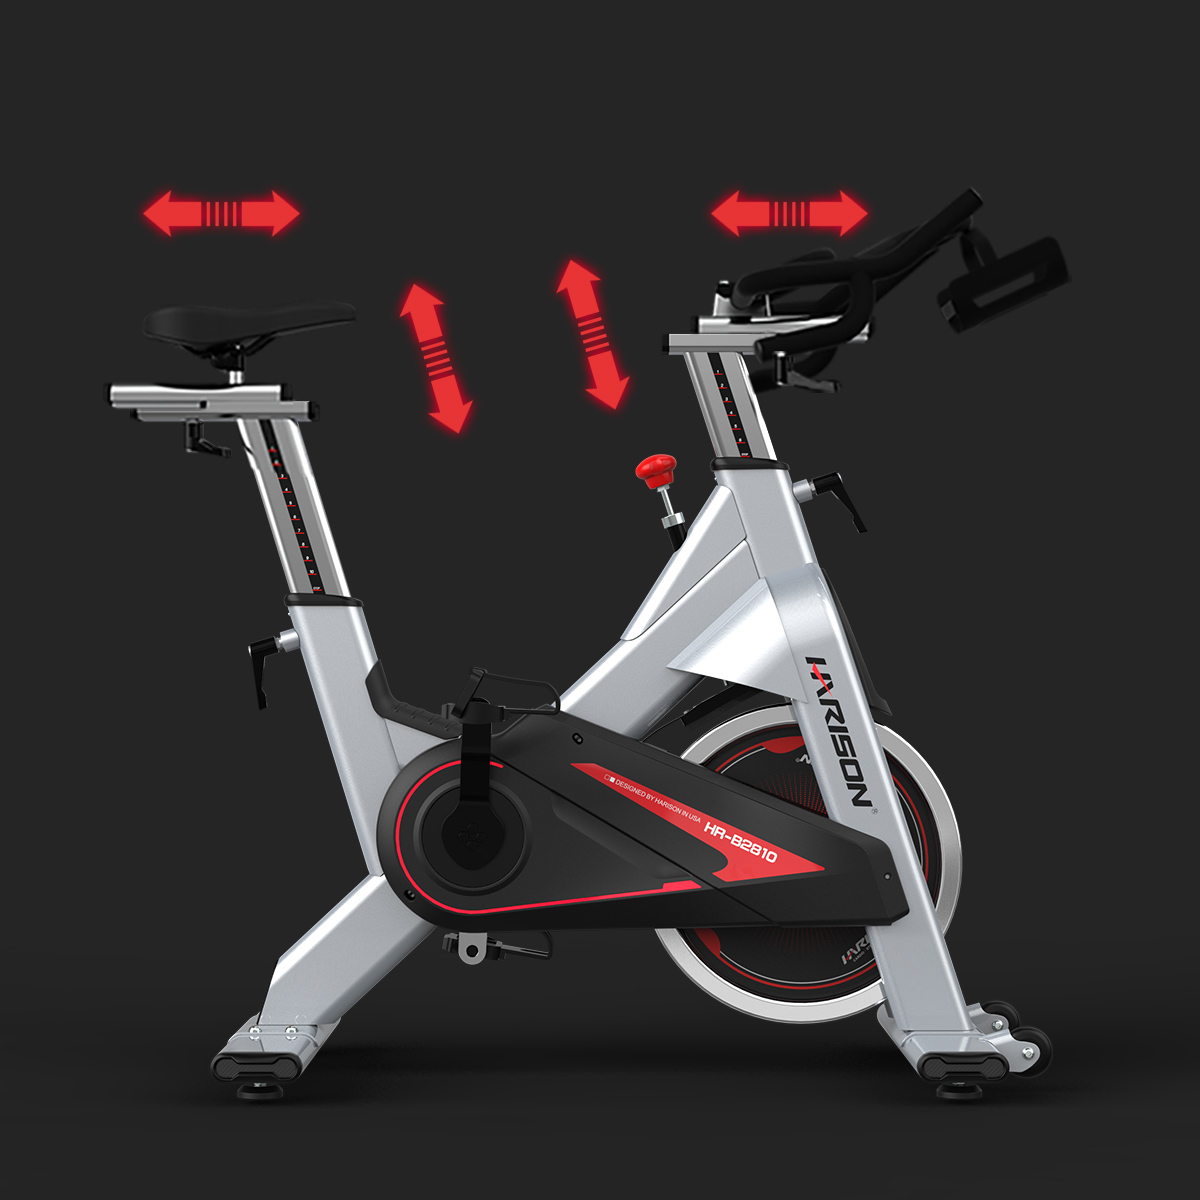
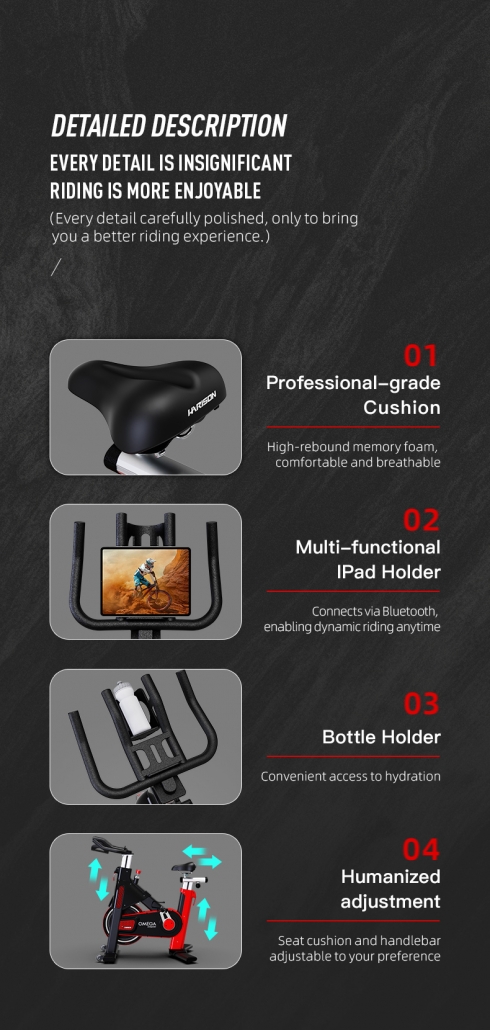
  • Adjustable Seat and Handlebars: The exercise bike has an adjustable seat and handlebars, which can be customized to fit each user’s unique needs and preferences. This is particularly important for amputees, who may require a different position or angle to accommodate their prosthetic. The seat and handlebars can be easily adjusted using a quick-release knob, and the bike also has a built-in leveling system to ensure a stable ride.
  • Built-in Programs:This bike has 16 built-in programs that can be customized to meet individual needs. These programs can help amputees build endurance and strength at a comfortable pace without risking injury or discomfort. The built-in programs also allow amputees to track their progress and set goals for themselves.
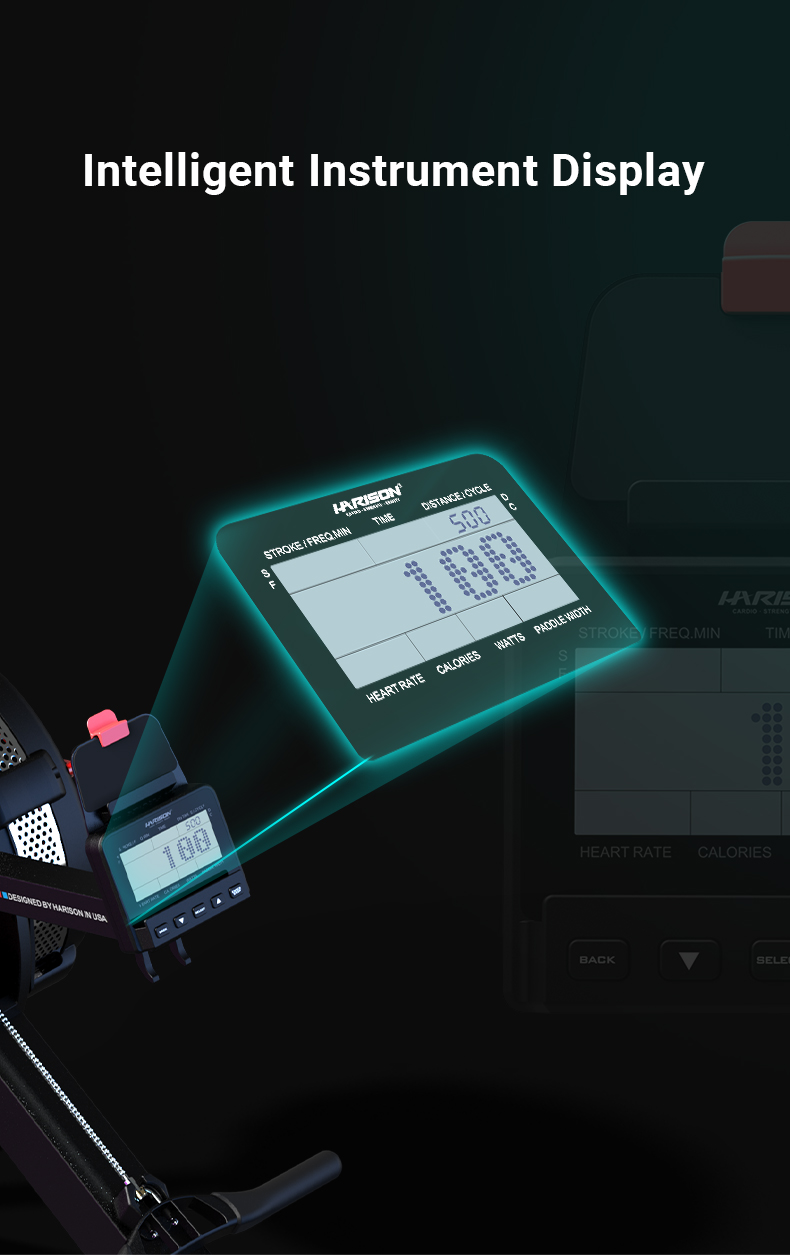
  • LCD Display:The Harison Exercise Bike features an easy-to-read LCD that shows the user’s time, distance, speed, calories burned, and heart rate. This information can monitor progress and adjust the workout as needed.
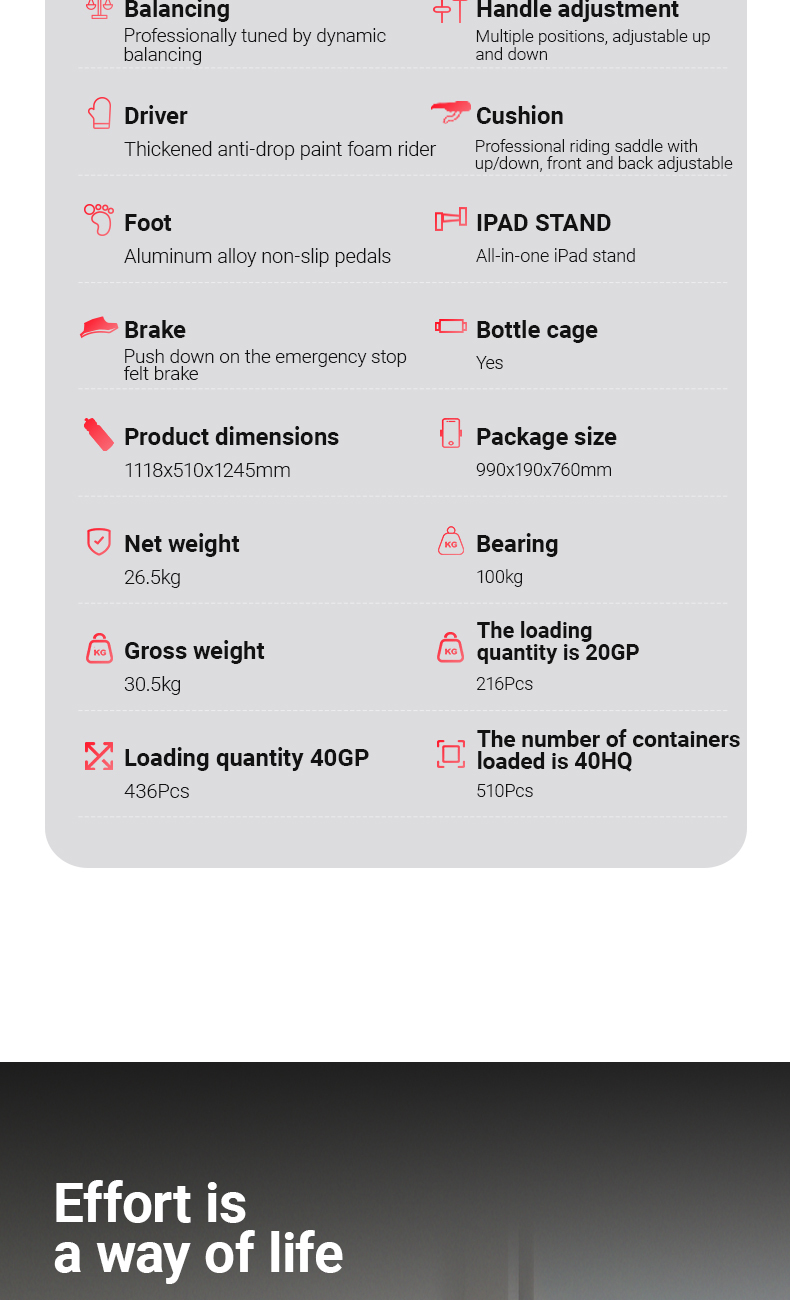
  • High-Quality Construction: It is built to last, with a sturdy frame and high-quality components. The bike is designed to support users weighing up to 350 pounds, and the pedals are oversized for added stability and comfort. The bike is also easy to assemble, with clear instructions and all necessary tools included.
  • Ergonomic Design:The bike has an ergonomic design, which ensures a comfortable ride and reduces the risk of injury. The bike has a large padded seat and handlebars, providing added support and comfort during the workout. The bike also has adjustable foot straps, which can be used to secure the feet in place during exercise.

The_best amputee rehabilitation exercise bike-amputee,exercise_bike

Final Word

The Harison Stationary Upright Exercise Bike with Magnetic Resistance Series B7 is an excellent option for amputee rehabilitation. It provides a smooth and quiet ride, has an adjustable seat and handlebars, built-in programs, and is easy to assemble and use. If you are an amputee looking for an exercise bike to help you stay active and maintain your physical health, the Harison Exercise Bike is worth considering.


Maximizing Your Workout: How to Use the HARISON Push-Up Board

Maximizing Your Workout: How to Use the HARISON Push-Up Board HR-424


Push-up boards are a great tool to enhance your upper body workout routine and strengthen your chest, shoulders, triceps, and core muscles. The HARISON push-up board HR-424 is a beginner-friendly tool that helps users perform push-ups with proper form and stability, leading to better results and reducing the risk of injury. This article will discuss how to use the HARISON push-up board and its various features.


Getting Started With the HARISON Push-Up Board HR-424

Before you start using the HARISON push-up board HR-424, it’s essential to set it up correctly. First, place the board on a flat surface and align the handles with the color-coded slots on the board. The color-coded system helps you target specific muscle groups, such as red for the shoulders, yellow for the back, and blue for the triceps. Once you have aligned the handles, press them firmly into the slots to ensure they’re secure.


Using the HARISON Push-Up Board HR-424

In the following sections, we’ll take a closer look at how to use the HARISON Push-Up Board HR-424 to get the most out of your workouts and achieve your fitness goals.


Traditional Push-Ups

To perform traditional push-ups using the HARISON push-up board, place your hands on the handles in the position that targets the specific muscle group you want to work on. For example, if you work on your shoulders, place your hands on the red handles. Ensure your body is straight and your core muscles are engaged. Lower your body until your chest almost touches the board, then push yourself back to the starting position.


Incline Push-Ups

To perform incline push-ups:

  1. Place the board in an elevated position against a sturdy object such as a wall or bench.
  2. Place your hands on the handles, ensuring they align with the color-coded slots targeting your desired muscle group.
  3. Lean your body forward, keeping your core muscles engaged, and lower your body towards the board, then push yourself back up to the starting position.


Decline Push-Ups

To perform decline push-ups:

  1. Place the board in a lower position, with the color-coded slots facing away from you.
  2. Place your feet on the board and your hands on the handles.
  3. Lower your body towards the board, keeping your core muscles engaged, then push yourself back to the starting position.


The Features of HARISON

MonicaFit 424 Push-up Board

MonicaFit 424 Push-up Board

The HARISON Push-Up Board HR-424 is an innovative fitness tool designed to help users perform push-up exercises with precision and ease. Here’s a closer look at some of its unique features:

  • Color-coded handles for targeted muscle training: The HARISON Push Up Board HR-424 com
  • https://youtu.be/3kLAjy3tuwEes with color-coded handles that allow users to target specific muscle groups while performing push-ups. The red handles target the shoulders, the yellow handles target the back, the blue handles target the triceps, and the green handles target the chest. This feature ensures that users can train their muscles effectively and efficiently without wasting time on exercises that don’t work.
  • Foldable design for easy storage and transportation:The push-up board’s foldable design is another unique feature that sets it apart from other fitness equipment. It can be easily folded and stored in a closet or under a bed, making it ideal for those with limited space in their home gym. Additionally, it’s easy to transport, so users can take it with them when they travel or work out outside.
  • Non-slip base for stability and safety:The HARISON Push-Up Board HR-424 has a non-slip base that provides stability during exercise and prevents the board from slipping or sliding on the floor. This feature is essential for maintaining proper form and reducing the risk of injury. Users can confidently perform their exercises, knowing they are stable and secure.
  • 500lbs capacity for users of all sizes and fitness levels: It is designed to support up to 500lbs of weight, making it suitable for users of all sizes and fitness levels. Whether a beginner or an experienced athlete, this feature ensures you can use the board comfortably and safely without worrying about it collapsing or breaking under your weight.
  • Counter and resistance bands for added challenge and progress tracking: The board has a built-in counter that helps users keep track of their repetitions and progress. This feature allows users to set goals and monitor their progress over time, motivating them to push themselves harder and achieve better results. It also includes two resistance bands that can be used to add resistance to push-up exercises or other strength training exercises, providing users with an added challenge and variety to their workouts.
  • Beginner-friendly with instructional manual:The HARISON Push-Up Board HR-424 is designed to be beginner-friendly, with an instructional manual that guides how to use the board and perform different exercises correctly. This feature ensures that users can get the most out of their workouts, regardless of their fitness level or experience.

Final Thought

The HARISON push-up board HR-424 is an excellent tool for enhancing their upper body workout routine. Its color-coded system makes it easy to target specific muscle groups, while it’s non-slip base and beginner-friendly design ensure proper form and stability during exercises. Whether a beginner or an experienced athlete, the HARISON push-up board HR-424 is an excellent addition to your workout routine.


HARISON 424 push up board:https://www.harisonfitness.com/product/monicafit-424-push-up-board/ 

HARISON Push Up Board Review: Is It Worth the Investment?

HARISON Push Up Board Review: Is It Worth the Investment?

Although many people believe that the only way to build muscle is by lifting weights, there are other ways to achieve this. While this is true, there are different ways to gain strength. One of these methods is using a pushup board. Push up boards are often used as an alternative to traditional pushups because they allow you to do more repetitions without getting tired or straining your joints. If you are interested in performing pushups in a way that will strengthen muscles in your upper body, read this HARISON Push Up Board review.


1. What is a Push Up Board?

A pushup board is a device that allows you to do pushups without straining your wrists or shoulders. You can achieve it by providing an elevated surface for your hands.


Pushup boards are usually made of hard plastic and come in various styles and colors. There are also models made of foam or neoprene, but these tend to wear out more quickly than plastic models.


The most common type of pushup board is the balance type. This style has two handles where you place your hands and a center pivot point that allows you to do pushups while still keeping your hands elevated off the floor.


The other type is a wedge board with an angled surface for your hands.

Push Up Board Review

Push Up Board Review

2. How to Use a Push Board?

Push up boards are easy to use. Place your hands on the handles, put your feet on the ground, and start doing pushups!


If you want to do more advanced movements, such as triangle pushups or clapping pushups, move your hands apart from each other on the handles.


If you want to do a reverse pushup, move your hands toward each other on the handles. Pushup boards are also great for people who want to build muscle in their upper body and core!

Push Up Board Review

3. What Are Some Benefits of Using a Push Up Board?

Pushup boards offer several benefits. One of the best ones is that they allow you to get a full range of motion when performing pushups.


It means you can focus on your chest, shoulders, and triceps! Pushup boards are also great for people with wrist problems, as they put less stress on this area than traditional pushups.


These boards are also great for people who want to build core strength. It will help you stabilize your body by engaging your core muscles when you perform a pushup.

MonicaFit 424 Push-up Board

MonicaFit 424 Push-up Board

4. Features of the Harison Push Up Board

The Harison Push-Up Board has several features that make it one of the best pushup boards on the market. It is lightweight, so it’s easy to carry around when traveling.


HARISON Fitness manufactures this board with ABS Ductile Plastic designed to last for years!


It also has a non-slip surface, so you won’t slip off the board when performing your pushups. It makes it easier to perform more repetitions without worrying about losing your balance.


The HARISON pushup board comes with a digital timer, making it easier to keep track of the time while you exercise. The new counting mode is ideal for anyone who wants to get their workout done quickly and efficiently without worrying about counting reps.


You can adjust the device to fit your personal needs. You can change the resistance bands to get the proper resistance when doing pushups. It will help improve muscle strength in your chest, shoulders, and triceps without putting unnecessary stress on your wrists or back.


The Harison Push-Up Board comes to provide extra support when performing your push ups. It makes it easier for beginners to complete their first few repetitions without straining their back muscles or shoulders.

5. Pros and Cons of the Harison Push Up Board

The Harison Push-Up Board is an excellent tool for building strength and muscle tone. However, as with any other product, it’s not without flaws.


Pros

-Provides extra support during pushups

-It’s easy to adjust resistance bands for different levels of strength

-Made from high-quality materials

-It’s compact and portable, making it easy to store in your home or gym bag

-It’s effective at building strength and muscle tone


Cons

-The resistance bands may become tangled if not stored properly

-The band that wraps around your back may be too tight or loose, depending on how you adjust it


6. HARISON Push Up Board Review: Conclusion

The HARISON Push-Up Board is worth considering if you’re looking for a product to help you build strength and muscle tone. It’s easy to use and can be adjusted easily depending on your fitness level.


The Harison pushup board is a great way to improve your pushups and build strength in your upper body without spending money on a gym membership. It’s easy to use, comfortable, and effective.


The resistance bands come with high-quality materials that won’t break or tear easily. Adapting may take some time, but the benefits will eventually become apparent.


You can buy the product by clicking this link.

Read more

HARISON WEIGHT BENCH 609

How to do leg extension workout at home?

Leg extension workout is a great way to strengthen the legs most effectively. However, many people struggle with this workout due to a lack of equipment or space for exercising at home. Fortunately, there are some ways of doing leg extension workout that are very simple and can be used by anyone in order to achieve the best results.


How to do leg extension workout at home:


  1. Find a comfortable chair, desk, or standing position. This can be adjusted based on the person’s height and ability.


  1. Sit up straight with your feet shoulder-width apart. If you are not relaxed, your body will want to compensate by leaning forward and rounding your back which is not the best way to perform this exercise correctly.


  1. Flex your elbows and pull your shoulders back as if you are trying to touch the ceiling with them.


  1. Inhale and at the same time, lift your legs straight up off of the floor to where your body forms a straight line again. Ideally, you should form a straight line from your feet all the way to the top of your head [but this is not always possible].


  1. After a slight pause, lower back down below parallel to the ground and repeat.


  1. Repeat this exercise as many times as you can without tiring out. If your knees start to feel sore, then it’s time to stop, otherwise keep going.


Top 5 leg extension workouts to try at home:


  1. Seated leg extension;


The leg extension machine is used by sitting in a chair and positioning your foot so that it is about 5-6.5 inches off the ground and roughly right where your toe meets the ball of your foot. To accomplish this, you want to put your knees together, bend at the waist, and lower your heels as close to the floor as possible while still keeping them together. This will support you while you perform the exercise.


  1. Standing leg extension;


This is an intermediate leg extension workout and it uses the same principles as the seated leg extension. However, instead of using a chair to lean against, you will be using a wall. This is done by placing your body perpendicular to the wall so that your back and head are supported by it while still keeping your heels on the ground.


  1. Bent knee leg extension;


This is a very effective leg extension workout that requires a chair or countertop for support. It is actually quite similar to the seated leg extension except that instead of sitting, you are bending your knees in order to lower yourself towards the ground. This increases the muscle tension in your legs and works them harder while also improving balance. The person performing this exercise can also intensify it by lifting their heels off of the ground as they concentrate on squeezing their glutes.


  1. Kettle bell leg extension;


This type of leg extension workout can be performed with a single kettle bell or a pair of them. It involves lifting the kettle bells straight up into the air towards the ceiling while standing on your tiptoes which will make it an intermediate to advanced leg extension workout depending on how many repetitions you do. It will also work your calves and glutes while also increasing your grip strength.


Conclusion:


This is a very effective way to strengthen your legs without any added equipment or space. It’s also a very simple form of leg extension workout that can be easily adapted to the specific needs of the person exercising.

They are simple exercises that do not require a lot of equipment and space can be done at home to strengthen the legs which is a great way to train for people who don’t want to spend a lot of time in the gym.

What is an incline decline bench?

What is an incline decline bench?

The incline decline bench is an excellent tool for anyone that wants an easy workout at home. It does not require any weights, which makes it perfect for beginners or people who are short on space. The incline decline bench also works out different muscle groups than the flat incline bench.


The incline decline bench has a lower back pad and seat which are 1.5 inches wider than the flat bench. It also has side handles, which is perfect for anyone on the go that it to workout anywhere.

This article will go through the many benefits of the superior machine, what it’s features are and why this product is a must have for any home gym.


What is an incline decline bench?


An incline decline bench is a type of bench that can be adjusted to perform various exercises. It typically has an incline section and a decline section. It is also called an adjustable decline bench.


The incline section of the bench will allow you to perform incline chest presses, seated rows and shoulder press exercises, while the decline portion of the bench will allow you to do more pressing movements with your upper body such as declines on the flat and declined flyes on the flat. This versatile bench can allow you to perform many different movements in multiple positions and angles.


What is the best incline decline bench?

incline decline bench

HR-608F Foldable Weight Bench

The best incline decline bench is one that exhibits the following features:


– The bench should be extremely versatile, allowing you to perform flat and incline chest presses as well as flat and declined sit-ups. The bench should also be adjustable, so it can grow with you as you get stronger at doing your exercises.


– You can get a bench that comes with leg extension and leg curl attachments that are sold separately so you will be able to do total body workouts with the incline decline.


– The bench should be easy to use even for beginners such that you simply have to adjust the seat to suit your height and then adjust the incline and decline positions of the bench to suit your own workout requirements.


– The bench of choice should be adjustable for depth, which means you can easily increase the body weight of the bench if you wish.


– This machine should have an easy-to-use handle for sitting on so it will be easier for beginners to workout at home.


Benefits of the best incline decline bench:


The incline decline bench is one of the best home exercise equipment. The main benefit is that it can be folded up and stored away in a closet when you are done with your workout.


– Bench exercises are very effective and can be done in a short period of time. Benches can allow people of all sizes and ages to gain enough strength to improve on mobility and lessen body aches that are usually associated with the aging process.


– Incline decline benches also provide an excellent way of exercising your lower body if you’re performing various types of leg presses or squats.


– The decline bench can be adjusted from flat to an angle of 45 degrees, which is more than enough for people who want to get a good workout for their upper body.


– They are useful for building strength and stability in the arms, back and shoulders. These benches also help people with low back pain; it not only helps relieve tension but also increases stability in the spine.


– Incline decline benches can be used as a rehabilitation tool following an injury or after a surgery. They are useful for exercises that improve mobility and strength in the upper body; they allow for a quick recovery and can prevent strength loss.


Conclusion:


Overall, incline decline benches are more expensive than many other types of exercise machines but they provide more versatility and better results as compared to other machines. It is best to perform abdominal and abs workouts before using it for other exercises. To get the best incline decline bench choose one that exhibits the features stated above. This will guarantee you get the desired results from your workout sessions.

HARISON WEIGHT BENCH 609 (1)

Best 10 Tips for Doing Leg Extension Workout at Home

Tips for Doing Leg Extension Workout at Home

Do you want to feel your muscles working? Do you want to burn fat and build muscle? If you’re looking for a way to do this without joining a gym, then leg extension workout at home are the answer. You can do them anywhere – in your living room, on your back porch, or even in your bedroom. Leg extensions are incredibly effective for toning your thighs, glutes, hamstrings, and calves because they require strength and endurance. The key is to choose the right weight and perform the exercise properly – so that you can actually get a good workout. Here are tips on how to do leg extensions:


Use a Squat Rack

A squat rack is the best way to do leg extensions at home because it allows you to place your feet on the pins in a way that makes it easier to keep your back straight and your knees behind your toes. You can also use a leg extension machine with a barbell if you don’t have access to a squat rack, but make sure that your knees are directly below the barbell and that you don’t allow them to come above it during the exercise.

harison barbell rack squat stand

Warm Up Properly

Warm up properly with hamstring stretches before and after each set when doing leg extensions. This will help prevent injury, especially if you do them regularly over time. If you do them before, they help reduce soreness as well.


Don’t Bounce Out of Position

If you’re new to leg extensions, try not to bounce during the exercise – this will put undue strain on your lower back and could cause injury down the line if done repeatedly without proper warm-up first!


Use a Bench With Padding to Protect Your Joints

Leg extensions are a great exercise for the lower body, but they can cause problems if you do them incorrectly. Do them on a flat surface in front of a mirror to prevent strain on your spine and joints.

HARISON WEIGHT BENCH 609

Place Your Feet on the Floor or Use an Incline Bench

Leg extensions aim to extend the knee past 90 degrees, so it’s important to keep your feet flat on the floor or bench. The incline position provides extra resistance, which works for more muscle groups and stretches muscles differently than regular leg extensions.


Do Not Hyperextend Your Lower Back

When you do leg extensions, don’t hyperextend your lower back and arch your back too much because this puts unnecessary strain on the discs between vertebrae (the intervertebral discs), which may cause injury over time.


Do Them Daily

Leg extensions are an explosive exercise; you will want to do them daily to keep the gains coming. Generally, it would help if you did leg extensions twice a week on non-consecutive days. This will allow your muscles to recover in between workouts and give you the most benefit from each session.


Work up Your Sets and Reps

Start with just one set of 10-15 repetitions first, then increase the number of sets as necessary until you reach your goal of total repetitions. You should feel a burn in your quads after doing just one set of leg extensions, so you know this is working! Once you feel that initial burn, build up by adding another set or two each week until you reach the desired amount of work for that particular workout.
 

Make Sure Your Form Is Correct

The most important thing about doing leg extensions at home is ensuring that your form is correct! If this isn’t done correctly, then there’s no way that the exercises will be effective or beneficial for muscle growth! So make sure that everything from stance to positioning.


Wrapping Up

Leg Extensions are one of the most popular exercises for strengthening your lower body. They work your quadriceps, hamstrings, and glutes. If you want to get stronger and build up your lower body, you’ll want to work with Barbells. Since they’re the strongest barbells, they’ll allow you to lift more weight than dumbbells or kettlebells. The biggest problem when doing leg extensions at home is that they don’t use enough weight. This can lead to injury or burnout because they end up feeling like a failure after not being able to do as many sets or reps as they were planning on doing at first.

The Best Bench with Preacher Curl

What is the best bench with preacher curl

On the market, there are many types of benches with preacher curl available to match different needs. For this reason, it’s not easy to determine which is the best bench with preacher curl for you. But what are these benches anyway?


A bench with a preacher curl attachment lets you perform bicep curls without having to lie on the ground and risk pinching your spine or neck. This machine is merely a bench with a barbell holder and a preacher curl attachment at the bottom of the bench. When you sit down, with the back of your upper arms against the preacher curl pad, you start doing bicep curls. The height of this pad is usually adjustable to accommodate different arm lengths.


The best bench with preacher curl:


  1. Bench with preacher curl– the best bench with preacher curl for everyone

This machine is the best for beginners because it provides a steady base. The more experienced and stronger you are, the more likely you are to bounce up and down off of it, causing your muscles to become weaker. Therefore, one of the beginner’s best benches with a preacher curl should be inclined in order to prevent injury from occurring.


The reason this type of bench with preacher curl is called “best for beginners” is because it’s also one of the safest in terms of exercise equipment. You’ll be able to do bicep curls, tricep presses, and other exercises with it without worrying about hurting yourself. In addition, because you don’t have to lie down on the ground in order to use it, there’s less risk of injury. In most cases, injuries don’t occur with beginner benches with preacher curl.


Remember that this is the best bench with preacher curl for beginners. If you’re a more experienced or stronger person, you’re going to need to get a different one that’s not as inclined. This is because it will be very difficult for you to lie flat on the bench, get comfortable, and start training.


  1. The Pec Deck – the second best bench with preacher curl

HARISON fitness

The Pec Deck is another type of bench with preacher curl because it’s similar to our top pick and even better than that. Its “pecs deck” is a special padded insert that’s in the shape of a triangle. This gives you extra support and stability for doing bicep curls, triceps presses, and other strength training exercises.


This machine is great for experienced people who just want to go easy on themselves for a little while; however, it will still be difficult enough to do your bicep curls without bouncing up and down off of the incline. The reason for this is because of all the padding.


You don’t want to use this machine as your primary form of working out.


This bench with preacher curl, despite its advantages and features, should be a secondary device to use with other exercise equipment.


But if you want to get fit, then it’s better to do your strength training exercises on a regular basis and in conjunction with cardio training. You’ll be able to see faster results and maintain them long-term.


  1. The Incline Bench – the third best bench with preacher curl

bench with preacher curl

The incline bench is simply a special type of bench with a preacher curl. This is because it has an incline in its top that helps people who are more flexible or less strong achieve the same results as those who are stronger and more experienced.


Advantages and disadvantages of this bench with preacher curl: strengths, weaknesses, and risks


Like the Pec Deck, this device is also used as a secondary fitness tool.


Because you have to lie down on the incline, it can be a little risky for older people and those who are frail. The key to using this type of machine successfully is just to practice caution. Start by lying flat on the bench and make sure there’s no risk of injuring yourself before beginning your prescribed routine.


The incline is not very good for beginners because you have to lie down in order to use it. Therefore, because it’s more lifting-based and for people who are stronger, it’s a better choice.


Even though the incline is not recommended for the beginning or beginner, the Pec Deck is a good one. But if you want to lean towards other exercises that use different muscles using the preacher curl attachment, then opt for an incline bench like this one instead.


You won’t be able to do bicep curls on this bench with preacher curl because it doesn’t have adjustable height on its pad. But you can do reverse curls, tricep presses, and other related exercises that work these muscles the same way.


Conclusion

If you don’t know what’s the best bench with preacher curl for you, take a look at this article. We’ve listed details on the best three in terms of popularity and comfort. You can choose either one of them or buy all three of them to increase your exercise options as you get more advanced and start working out harder each time.

Are Leg Curl Extension Good for Football Players

Are Leg Curl Extension Good for Football Players


As a football player, you need to be strong in the lower body to improve your speed and power. This is why you should include this exercise in your training routine. The leg curl extension helps to generate power because it works all the muscles in the lower body.

Leg Curl Extension

It is also safer than other exercises because you can control the pressure on your muscles more precisely as well as developing stability and strength in your hamstrings, glutes and other muscles for American football. And if you want to know more about leg curl extension, then this article is what you’re looking for.


What are leg curl extensions?


Leg curls are an exercise that train muscles in the lower body. These muscles include the hamstrings, glutes and other muscles in the thighs and back of the legs. The hamstring muscles are especially important for American footballers because they help them move with speed and power.


This helps them to break tackles, jump high into the air when making a tackle or get to a loose ball quickly after it has been kicked. They are used to carry out a lot of running and sprinting, so they need to be strong.


Leg Curl ExtensionHow do leg curl extensions help American footballers?

Leg curls are an effective way of strengthening the muscles in your lower body, and this makes them very important for your American football training.

When your hamstrings, glutes and other lower-body muscles are well trained, the footballer develops more power and speed. This will improves their game in American football.


For American footballers, good hamstring strength is especially important because it helps with speed and running ability. If you want to run fast, you need to be strong in your hamstrings.

To run quickly, you need to improve your hamstring strength. This is especially true for wide receivers, running backs and safeties. Good hamstring strength helps your speed and running ability.


Footballers also need to jump high when participating in American football, so a stronger lower-body is important. When starting off with the leg curl exercise, you should use light weights.

This will help you get used to the movement pattern and practice your form while avoiding injury. As you become stronger, you can make the exercise harder by using heavier weights.


Leg Curl Extension

How to do the leg curl extensions exercise


  1. Sit on a weight bench with your back straight and your legs lying fully on the roller pad, the roller pad should be a few inches from your calves.


  1. Slowly bend your knees, pushing your ankles as close to your backside as you can using your hamstrings to take weight off the plate. Hold this position briefly.


  1. Straighten both legs fully and return them to their original position. Repeat.

The number and weight of the weights you use will depend on your starting level in the exercise.


You can also perform this exercise while lying flat on the leg curl extension machine, using your hips and holding onto the support handles to remain in position.


To perform this exercise correctly, it is important that you do not lean forward as you bend and straighten your legs. In this position, the weight on your hamstrings takes all the strain and does not rest evenly throughout the movement. This can cause injuries or strain and damage to muscles if you abuse them too much or overdo them.


Leg Curl Extension

Conclusion:


Overall training is important to strengthen the muscles in your lower body, and this makes leg curls an effective way of improving your American football training. It will give you more power and speed to improve your game, so you can become a better footballer.

Planet Fitness Personal Trainer

HARISON Squat Stand 30812 Review Pros and Cons

HARISON Squat Stand 30812 Harison-fitness-squat-stand-48-1-768x1024

Review Pros and Cons

The Harison Fitness adjustable squat stand provides a lot of value for the price that it is offered at. It features 10 different height settings for the uprights, and it can hold up to 650 pounds of weight. Squats, bench presses, shoulder presses, dips, and other workouts may be performed thanks to the uprights’ ability to be modified.


About HR-30812 Squat Stand

The weight capacity of the movable spotter arms is 400 lbs, and they have five different settings to choose from. They are there to rescue you in the event that you get caught at the bottom of a workout. The breadth of the squatting stand may be modified to one of ten different settings, providing you with a great deal of flexibility while also making it simpler to store.


Additionally, it features a weighted plate cushion on every side that is suitable for use with weight plates of both regular and Olympic dimensions. One hundred seventy-five pounds of force may be accommodated by every weight plate sleeve.
 

How did the machinery feel when it arrived at homes


Although enthusiasts are aware that squat stands do not get a lot of love in this community, many still wanted to submit a review on the stands that are located in my home gym.


A lot of people wanted a piece of machinery that could easily take at least 400 pounds, was movable, could fit in a tiny place, and was affordable, so there are a plenty of people who went ahead and bought them. These fulfilled all of those requirements completely.

SQUAT STAND ASSEMBLE


Nothing out from the ordinary about the assembly or the package. Arrived in a sturdy cardboard box, and each component was individually wrapped with bubble wrap. The assembly process took around half an hour for each stand, but that was because I wasn’t very efficient while separating the individual components before putting them together. The assembly process consists of nine bolts and the foot caps.
Pros and cons


Pros:


  • Rated to hold 700 pounds
  • J-cups with plastic liners are included in the package.
  • Very reliable even when a weight of 25 pounds is placed on every stand (has a weight horn on the back of the rack).
  • If they need to be relocated, they are light and simple to carry.


Cons:


  • Did not provide other attachment like the power cage( HARISON would update a pro version for more  at the next squat stand)


VERDICT


The Harison Fitness squat stand is one that I prefer using overall. Because it is adjustable in height and breadth, it may serve as a base for a variety of activities. Does not need a large amount of space, which is an essential requirement for the majority of home gyms. In addition to that, there is space available for storage.

Read more