Drinking sports drinks the wrong way is quietly making you gain weight
If you have any queries or suggestions, please feel free to reach out via email to info@harisonfitness.com. We will do everything in our capacity to ensure that you love your experience with us.
Sports drinks have long been a staple for fitness enthusiasts. With their vibrant colors and stylish packaging, they’re not just beverages for hydration—they’re also popular props for photos at the gym. However, most people drink them simply because they’re trendy, without truly understanding their actual benefits or when they’re best suited for use. What’s more, they often overlook the fact that consuming them the wrong way or at the wrong time can actually lead to weight gain and undermine their fitness results. Today, we’ll break it all down in detail.
01Are sports drinks actually effective for fitness?
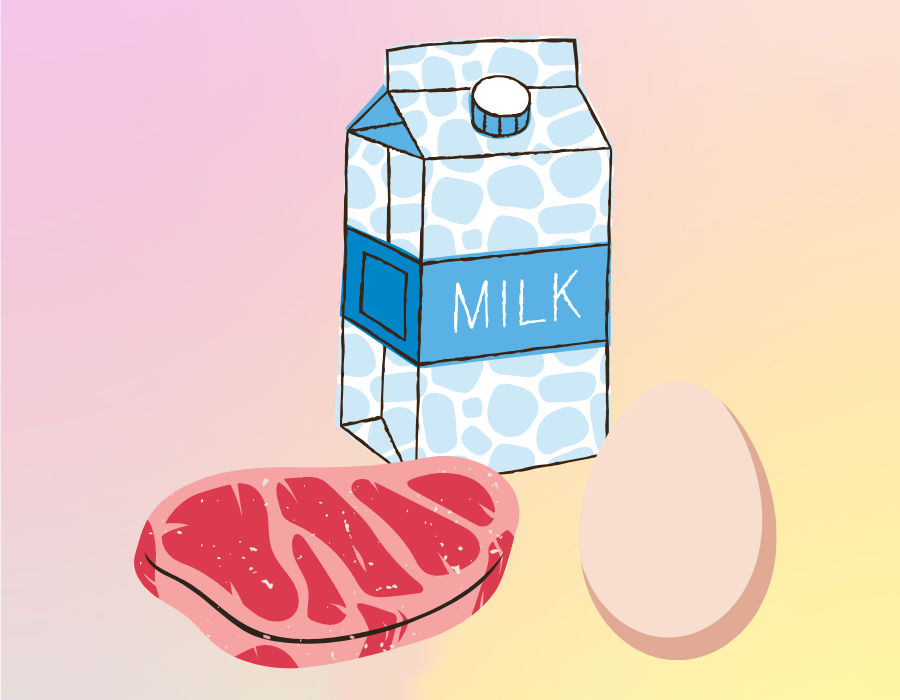
There is a wide variety of sports drinks on the market, each with its own unique marketing claims, but their core ingredients are largely the same: they mainly consist of water, glucose, fructose, sodium, potassium, calcium, and other substances. During high-intensity exercise, we deplete large amounts of stored glycogen in the liver and muscles. Once glycogen reserves are depleted, we are prone to low blood sugar, reduced exercise endurance, and rapid physical fatigue. The carbohydrates in sports drinks can quickly replenish the glycogen lost during exercise, helping to restore energy and delay fatigue—which is the core reason they are so popular among athletes.
At the same time, intense exercise leads to a dramatic increase in sweating, causing the body to lose large amounts of water and electrolytes, which can easily result in electrolyte imbalances, weakness, and muscle cramps. The trace elements such as sodium and potassium found in sports drinks can promptly replenish lost electrolytes, providing both hydration and helping to maintain stable bodily functions. Therefore, specifically for high-intensity, strenuous exercise, consuming sports drinks in moderation does indeed serve a replenishing purpose.
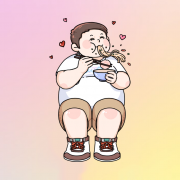
02 Snacking between meals is a surefire way to gain weight
The biggest concern with sports drinks is their high sugar content. When you’re not exercising, your body’s electrolytes and blood sugar levels are in a balanced, stable state. Consuming sports drinks casually at such times is equivalent to ingesting large amounts of added sugar out of nowhere. Since your body isn’t getting enough exercise to burn off the excess sugar, the remaining sugar is converted into fat and stored, which naturally leads to weight gain over time. Therefore, when you’re not exercising, it’s strongly discouraged to drink sports drinks as if they were plain water or a regular beverage. Even for those who are working out, sports drinks are not suitable for everyone or every type of exercise: Many people start working out to lose fat and tone their bodies, which requires maintaining a calorie deficit—burning more calories than they consume to burn fat. If you casually drink sports drinks during workouts while trying to lose fat, the sugar you consume will offset the fat burned, directly slowing down your fat-loss progress.
Furthermore, there is no need to drink them during low-intensity recreational activities. For daily jogging, simple stretching, or light workouts—where sweat production is minimal and electrolyte loss is limited—the body can fully regulate its own balance. Drinking sports drinks in these situations is entirely unnecessary and will only increase sugar intake. Sports drinks are essentially functional sugary beverages; they are not suitable for everyone or for consumption at any time.
03The Proper Way to Drink Sports Drinks
After intense exercise and heavy sweating, guzzling a large amount of sports drink all at once can lead to excessive fluid intake in a short period, which may place an additional burden on the body and even trigger water intoxication. The correct way to drink sports drinks is to consume small amounts frequently and slowly, taking sips in intervals to give the body enough time to absorb fluids and electrolytes, thereby maintaining a stable physical condition.
Sports drinks are only suitable for consumption after high-intensity, prolonged, and strenuous exercise that results in heavy sweating. They can effectively replenish glycogen and electrolytes to aid in physical recovery, but their actual benefits are not as exaggerated as marketed by manufacturers. If consumed indiscriminately—regardless of exercise intensity or context—such as sipping them casually throughout the day or during low-intensity workouts, the excess sugar can become a hidden risk for weight gain, directly undermining your fitness goals.
Moderate consumption is generally harmless, but it’s essential to approach sports drinks with a rational mindset. By choosing the right timing and using them correctly, you can ensure that your fitness supplements don’t become “accomplices” to weight gain.


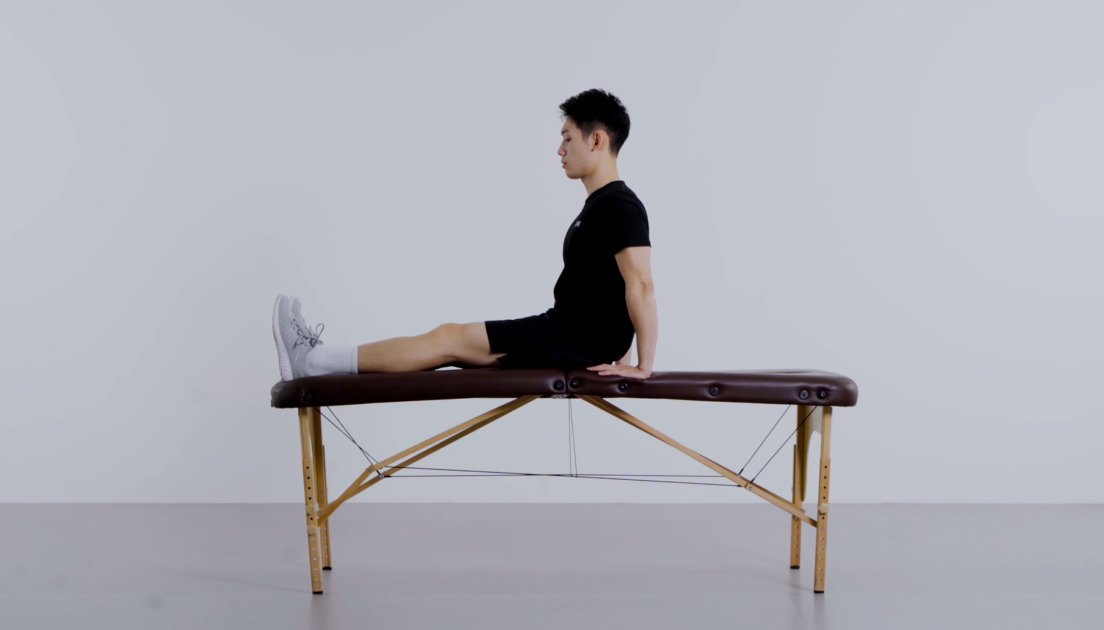 aintaining even breathing. Remember not to exceed a 45-degree angle, as this may cause pain or discomfort. Repeat this exercise, performing two sets of 8 repetitions each.